
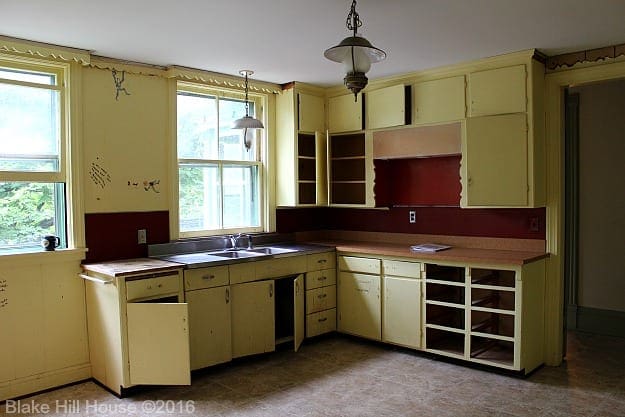
It has been a life-changing, room-altering week here at BHH. That sounds like hyperbole, but it is not. Our lives have changed now that we are washing dishes in the bathroom sink and eating much of our food off of paper napkins. And we cannot deny that a room has been altered. The kitchen is now completely gutted. It is a blank canvas as the Lowe’s kitchen remodel process continues.
If you just started reading here, you may enjoy getting caught up with our kitchen project by reading these additional posts:
The Kitchen :: Getting Started :: Layout Planning :: Site Visit & Layout Changes :: Final Estimate & Finishes
This kitchen renovation is not sponsored, but I am documenting the Lowe’s kitchen remodel process from concept to completion in order to help other homeowners who may be considering using Lowe’s for their home remodeling needs.
* * *
Demolition has always been my favorite part of DIY. I have made it no secret that I am far better at tearing things up than putting them back together. I enjoy it for two reasons: 1. I like to see how things work or how they are put together and 2. The job satisfaction begins immediately after the first swing of the hammer.
From the very beginning, I wanted to have a hand in the demo for this project. Andy and I disagreed about whether or not we should tackle the demo ourselves or roll it into the cost of the remodel. I wanted to get my hands dirty, but Andy’s arduous experience with removing one square foot of the flooring when we tried to see if we had wood floors underneath, convinced him that the job would take us too long, and it would be better left to the professionals. As the project drew nearer, I agreed with him. May and June are always busy here, and fitting in a demo would have been disruptive and stressful.
The day prior to the demolition, we removed all of our personal items from the kitchen, and I satisfied my demo urge by salvaging all of the cabinet handles and removing the decorative crown molding.
Millie was convinced that we must be moving again, so she parked herself in the middle of the kitchen floor to make sure that we did not forget about her. 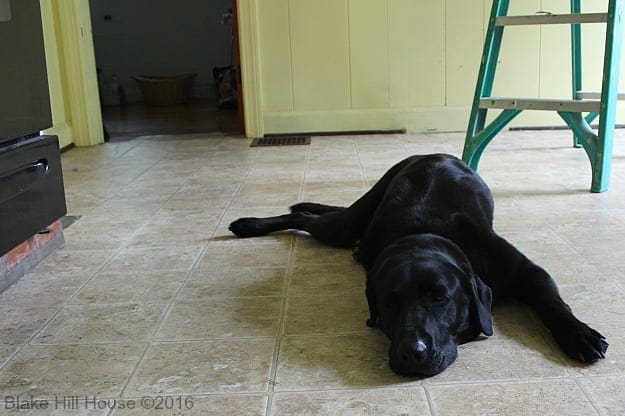
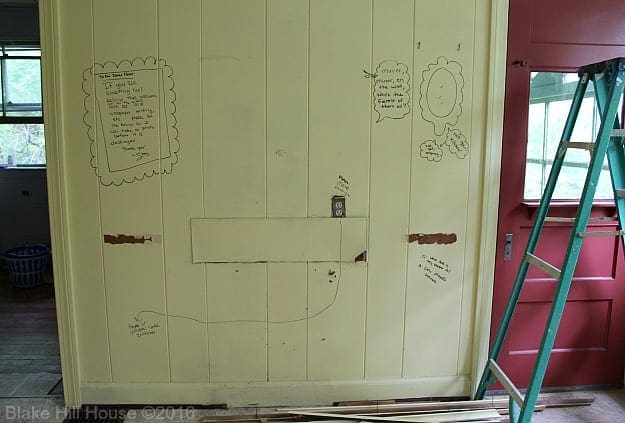
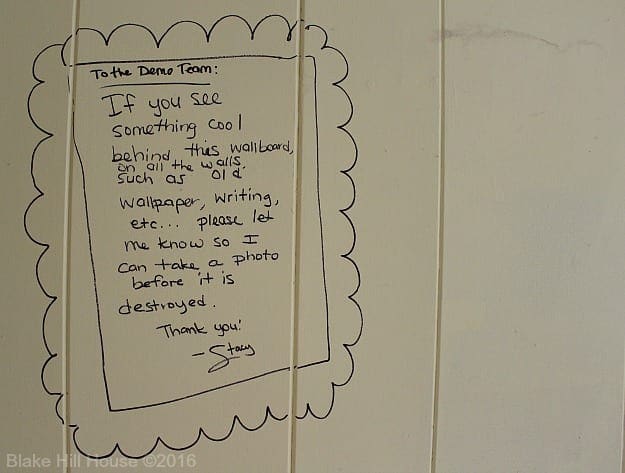
Since the walls were coming down, we had some fun with Sharpies. 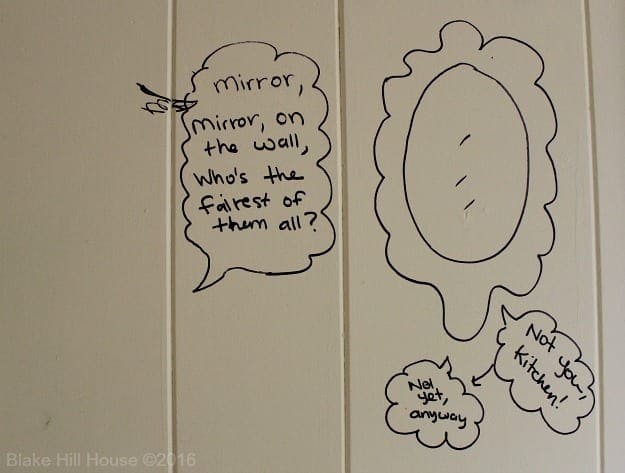
I left the demo team some notes:
Our general contractor, Keith, and his son John showed up bright and early Monday morning. After we had a quick project plan meeting, they tackled the two-person jobs such as removing the stove and the original metal Youngstown cabinet and sink. It did not take long to create the first gaping hole.
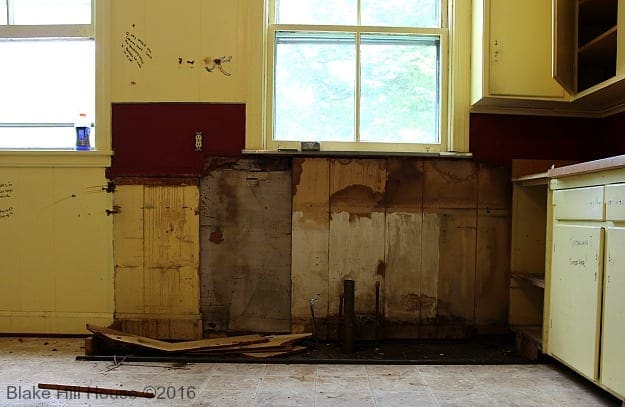
After the heavy lifting was done, John worked solo for the rest of the day. I was able to peek in several times to take photos as everything was dismantled.
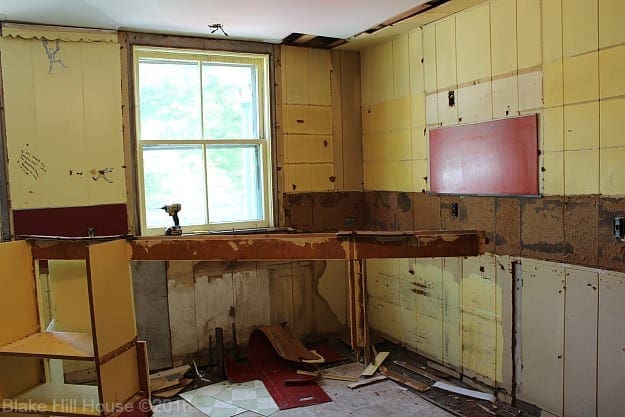
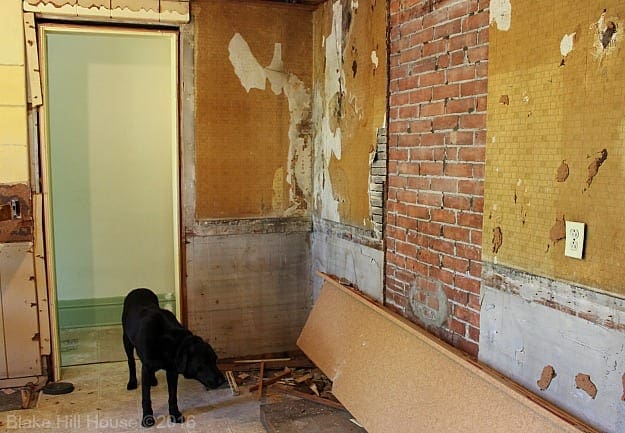
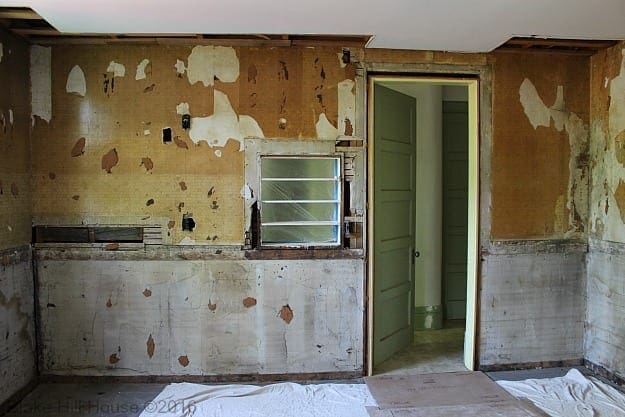
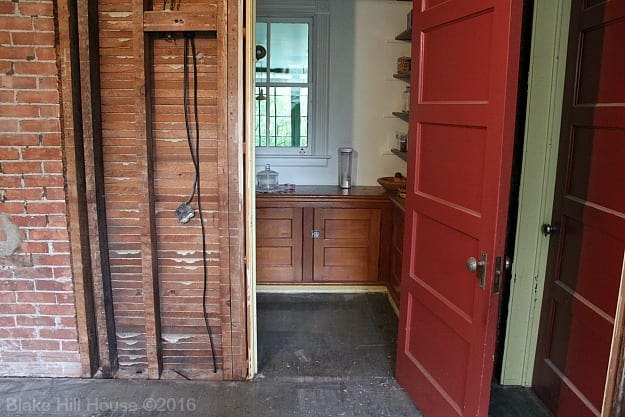
Removing the upper cabinets revealed the old pass-through from the kitchen to the hall. Across the hall is the Butler’s pantry which has another blocked pass-through to the dining room. I imagine that in Downton Abbey times, the kitchen staff sent the food to the serving staff through the pass-throughs.
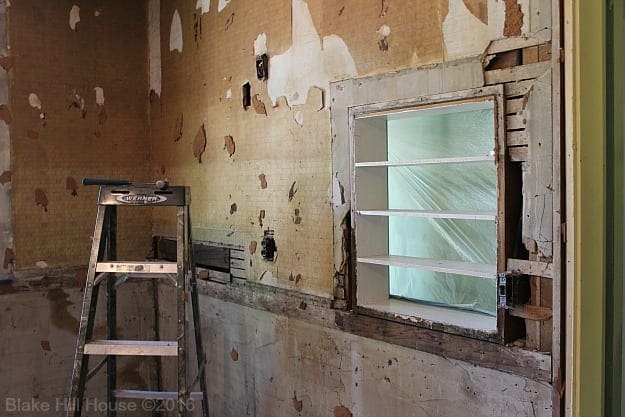
Removing the wall board revealed some old wallpaper. Actually, it revealed three layers of wallpaper which I labeled from oldest to newest.

The first and second layers must have been beautiful back in the day. They have a slightly raised texture which might mean the paper was hand-painted or at least machine-painted vs. printed. I cannot pin down an exact date for the gold, brick and flower-patterned wallpaper, but I am guessing it is from the 1940s-1950s. Dorothy updated the kitchen when she moved in during the 1960s. The wall board that covered up the old wallpaper and plaster was put up then.
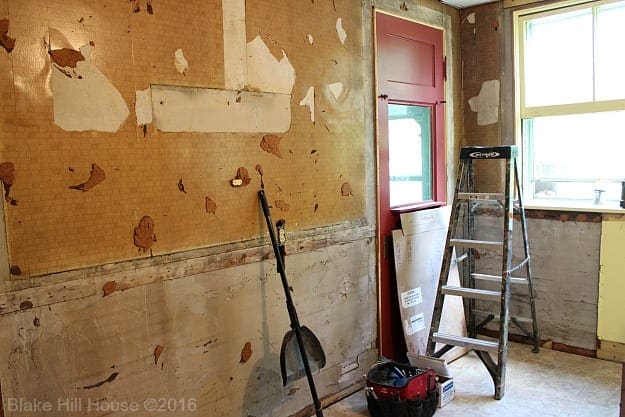
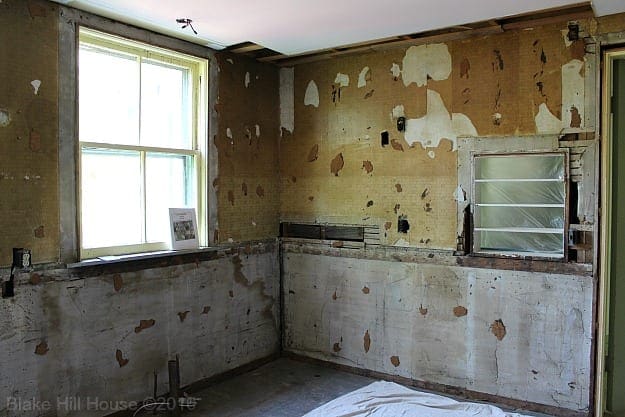
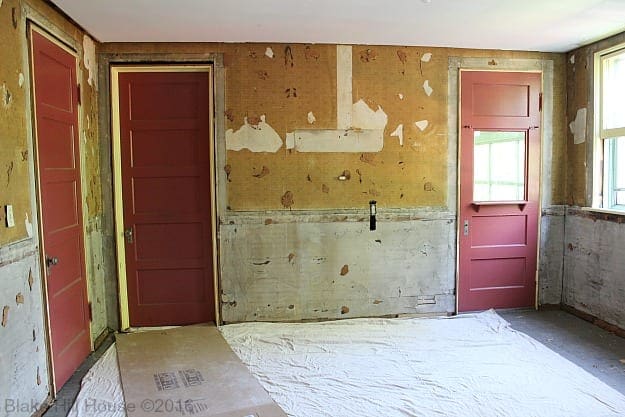
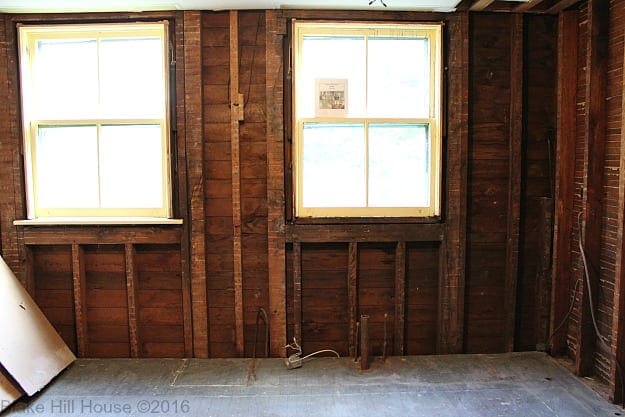
By the end of the day, the flooring and cabinets were gone. In addition, the door and window casings were removed and put aside for reuse. The kitchen looked remarkably different:
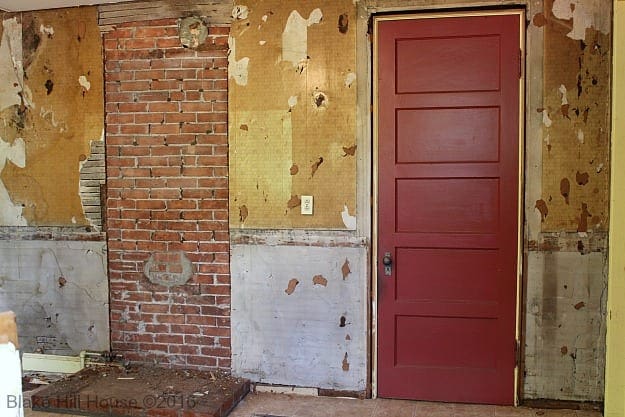
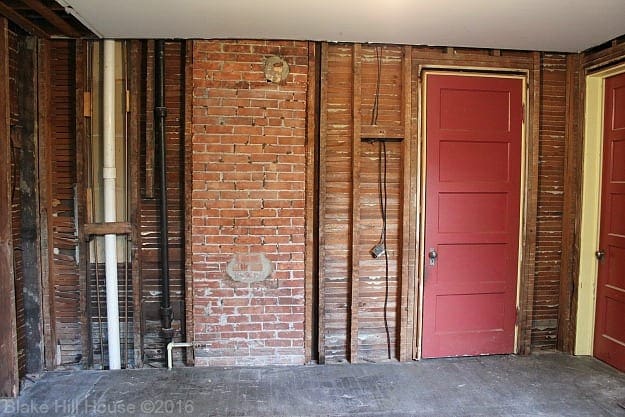
If you look at the brick chimney photo, you will notice the two patched stovepipe holes. I thought that was pretty neat. The brick pad that they removed was likely a later add-on, but the chimney and at least one of the stovepipe holes are definitely original to the house.
The end of the first day was full of good surprises. We made an important discovery that led me to create this giddy and somewhat breathy video for you. Please let me know if the discovery excites you as much as it excited Andy and I.
Pretty great, right?
By the end of the first day, I was so impressed with John. He was extremely polite and friendly which means a lot when you have a stranger in your house for a long period of time. I could not get over how neat the work site was throughout the day. Before he left, the kitchen was dismantled, but completely swept and tidied. He had also covered the floors with a drop cloth and cardboard so we could walk across safely since he had not had a chance to remove all of the nails. Once he left for the day, I texted Keith to tell him what a great job John had done. We could hardly wait for day two.
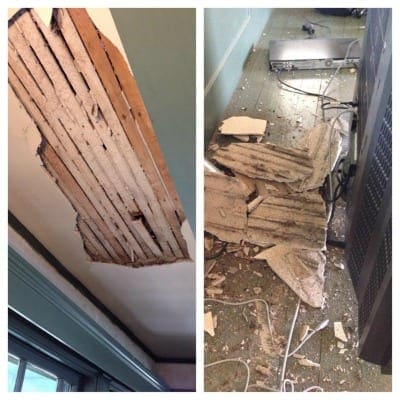
The next day, John had a helper. Because the plaster was coming down, they put a high-powered fan in the kitchen window, and they sealed off the room to reduce the amount of dust in the rest of the house. If you follow us on Instagram, I posted a photo from that morning.
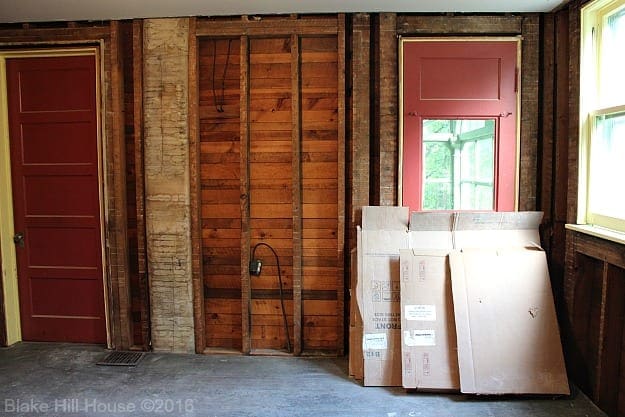
Considering the type of work they were doing, it was reasonably quiet during the day. We could not see what they were doing, but at the end of about seven hours, the kitchen looked like this:
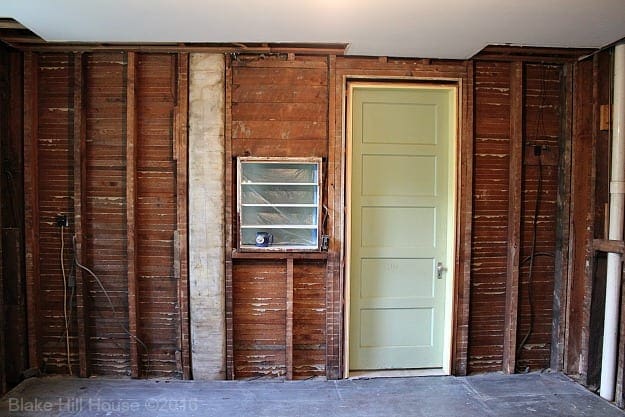
Again, John and his partner exceeded our expectations for cleanliness. The site was as immaculate as possible for this type of project, and there was almost no additional dust in the house. Even the pantry and the laundry rooms which are adjacent to the kitchen stayed clean. I had expected loads of extra cleaning work related to the demo, and it simply was not necessary. I thanked them both profusely, and I mentioned it to Keith again later. Having a clean work site was worth every penny we spent on demolition vs. doing it ourselves.
I could not resist taking a photo of our completed pantry from the gutted kitchen. It was a Phoenix from the ashes feeling. (How’s that for hyperbole?)
Currently, the electrician is at work. We are getting some new wiring and some new-fangled conveniences such as…gasp…light switches and outlets on separate circuits. No more running downstairs to reset the breaker because the refrigerator popped on at the same time as the toaster oven. The best news is that we did not get any bad electrical suprises. We are spending around $300 on additional electrical expenses, but they are all optional and not related to safety. It is just more economical to spend the money now while the walls are open than to spend three times that amount to update once the walls are in place.
Overall, it has been an exceptional first week. There have been no HGTV, cut-to-commercial-because-something-terrible-has-just-been-uncovered moments. We have reached the “creative solutions” portion of the project, and I will explain that all next week.
Thank you for following along.

This post is also linked at Thoughts of Home on Thursday.

12 Comments
Ame Jo
WOW!! What a fantastic discovery! I’m so happy for you guys!
Stacy
Thank you, Ame! You are always such a good source of support for us.
carolyn mcafee
So excited for you! AND original flooring? Yep, excited for you! What are your plans for the chimney? Will you cover it or keep it exposed?
Stacy
The chimney will be covered up. It is right where our cabinets and fridge will be. I originally wanted that whole wall to be exposed brick, but we had to let go of that idea. The kitchen is a reasonable size, but it has two windows and four doors that limit layout possibilities. Fortunately, we have more fireplaces in the house. It was a difficult decision to cover it up, but we do think it is the right choice for this project.
Gayle
Very excited about the floors, a hope come true. Very impressed with the cleanliness of the worksite too. Love your blog !!!
Stacy
I still can’t get over it. The electrician made quite a mess yesterday, but he cleaned up great as well. 🙂
Laura Ingalls Gunn
Hardwood floors woo hoo! I so enjoyed seeing the layers of wallpaper. Such charm. Thank you for so faithfully joining us at Thoughts of Home on Thursday. You are a treasured blogging friend.
Stacy
Thank YOU, Laura, for such a nice link-up. 🙂
Laura
You are well on your way!
What a gift that the person doing the job is professional and good.
I am looking forward to next week’s update!
So glad to have you at TOHOT.
Stacy
It really does feel like a gift. That is a nice perspective, Laura. 🙂
Jemma
What a wonderful and large project, but oh so gratifying!
I am looking forward to seeing more and more!
Great to have you join us at TOHOT!
Jemma
Stacy
Thank you, Jemma!