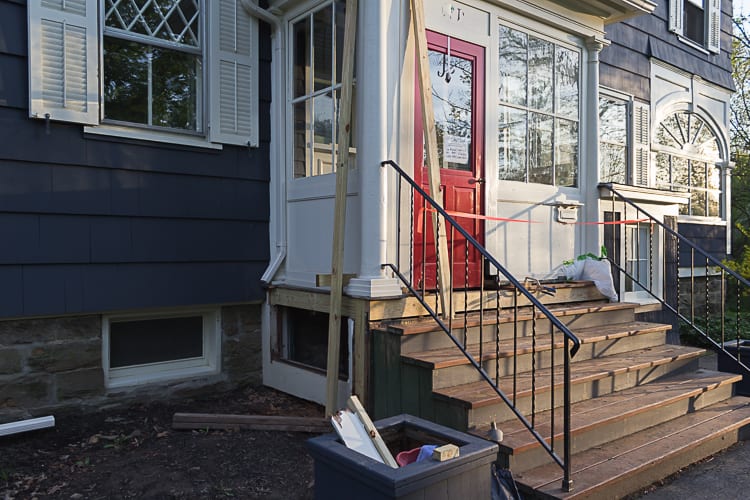
The alternate title for this post was “Boy, That Escalated Quickly.” By now, most of you know that the Street Side Front Porch reveal for the One Room Challenge was not exactly traditional. It ended up being just me and a couple of ferns. That is because the entire project went from bad to worse over the course of a few days. It felt like everything that I touched turned into a pile of rotten wood. The crumbling pillar base was just the tip of the iceberg.
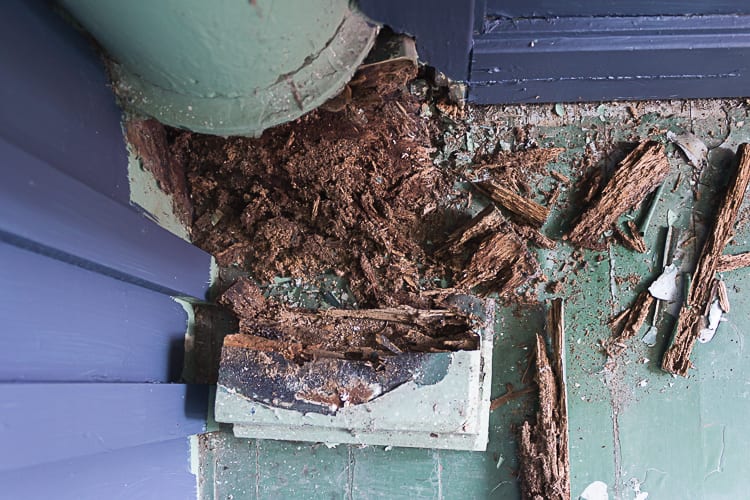
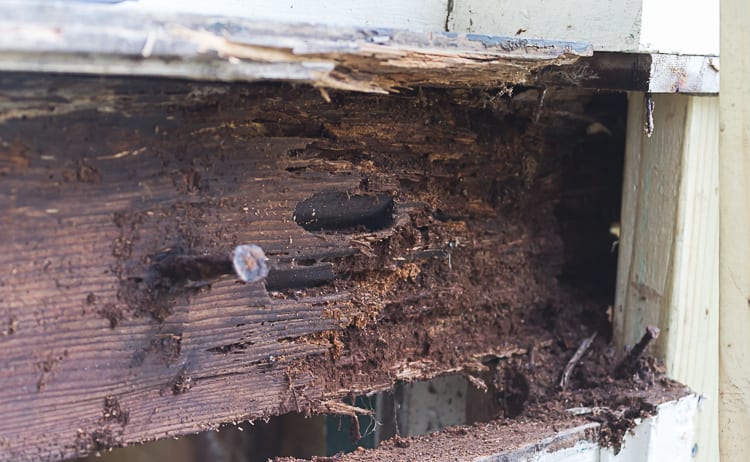
I knew we were in big trouble when I was working under the top stair riser. As I was cutting it with an oscillating tool, water squeezed out of the wood. Who knows how long it had been soaking up moisture like a sponge?
Who Is Dale?
Before I continue, I want to introduce my friend Dale.
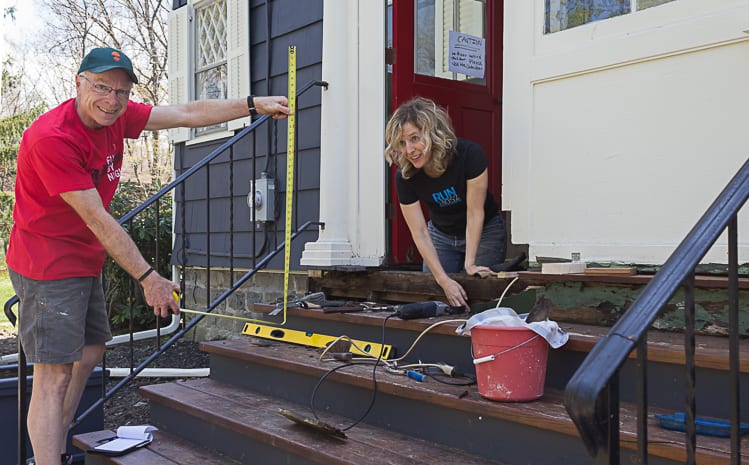
Two summers ago, Dale and I met at a running group. Now we, along with some other members of our group, run together a few days per week. Running aside, Dale is also an excellent woodworker and problem solver.
Initially, he took an interest in my project because I reached out to him about using Cumuaru hardwood for the porch floor. Last summer, Dale built a small Cumaru deck at his house. He became an excellent resource for me as I was planning the porch project, and throughout the One Room Challenge, he has generously opened up his woodshop to me whenever I need it.

About two weeks ago, I started running into flooring issues, and Dale offered to help me troubleshoot. One week later, he was elbow deep in porch rot, and half of his power tools moved to BHH. Sucker. Seriously, though, I appreciate Dale’s help so much. I could do this project without him, but I am glad I don’t have to. His input and problem-solving skills are invaluable, and I appreciate being able to borrow so many useful tools too.
Rebuilding The Porch
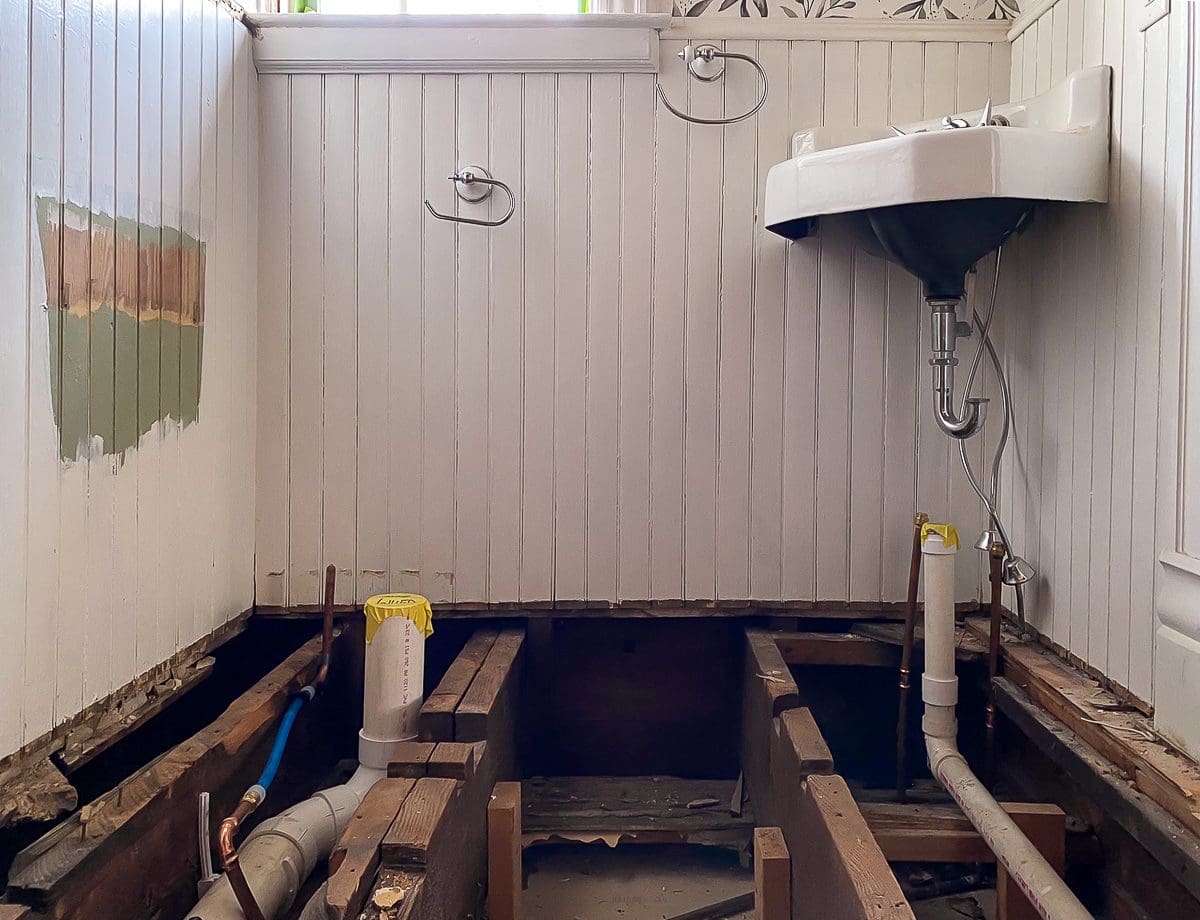
To restore the porch, we have been following these steps:
- Tear out boards
- Watch them crumble in our hands
- Wonder what has been holding up the porch
- Replace rotten boards with new ones
- Repeat
Directly under the left-side pillar, we reframed the corner.
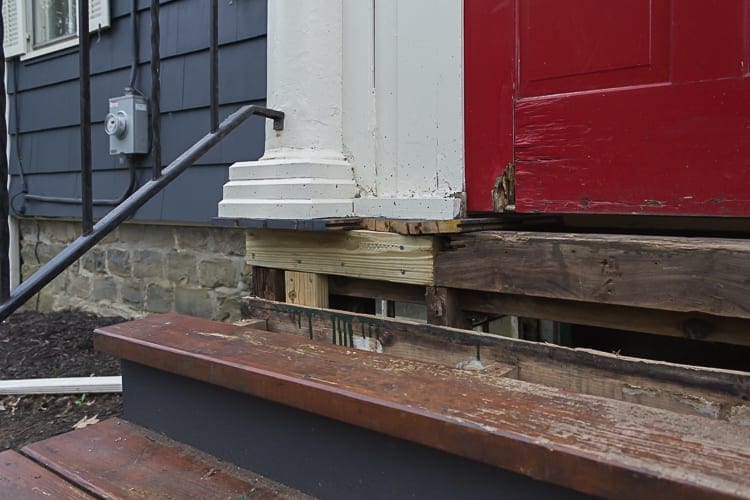
It is not visible in the photos above, but I also added extra vertical bracing under the door because the opening was deflecting (flexing) a little when we stepped on it.
Dale and I also replaced the header on the side of the porch. That side had a double header, and the outside one was trashed.
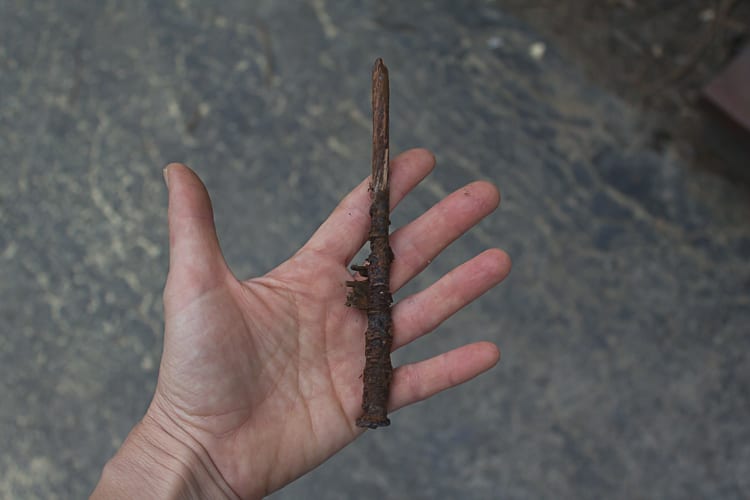
Check out this giant construction spike/nail. We removed several of them during demo.
Since the interior side of the first header was dry and perfect, we screwed a piece of plywood on the outside to compensate for the rot near the pillar.

Then, we sandwiched the plywood with a new pressure-treated header on the exterior.
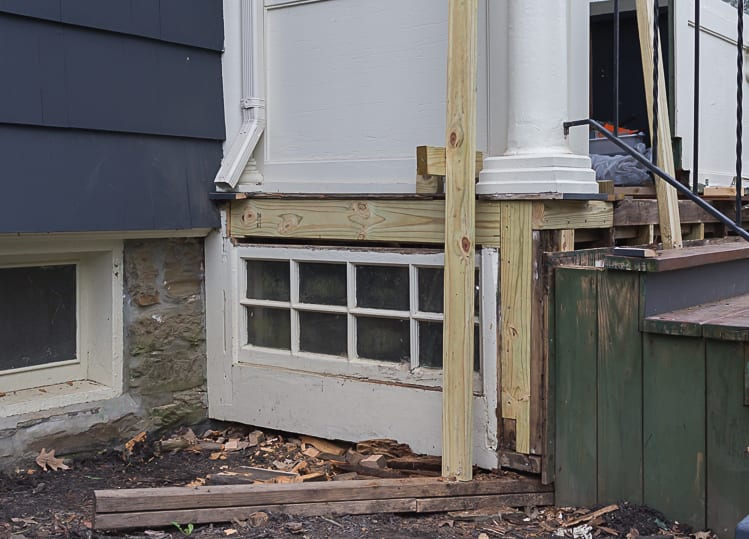
That porch is going nowhere. It is solid as a rock.
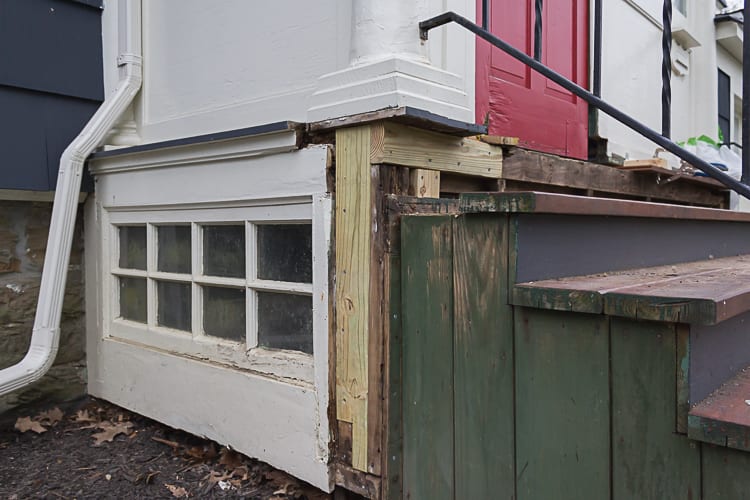
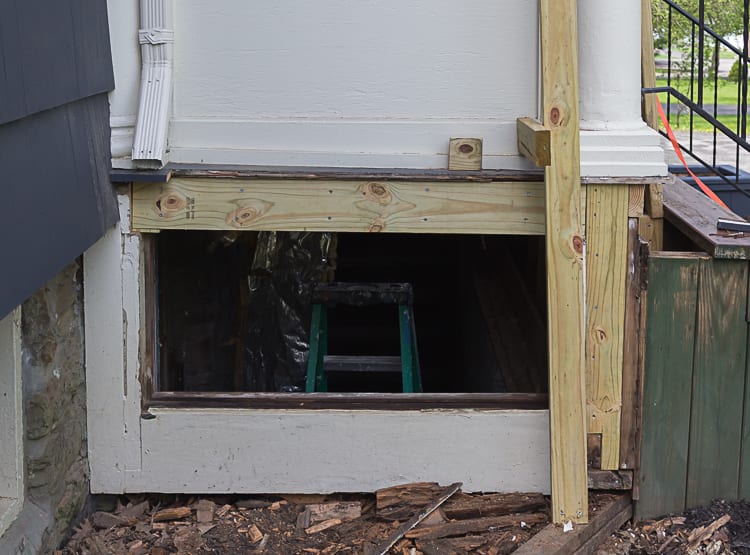
Since the window below was soft and mushy, I removed it. I will need to do some research before I start restoring it, and making the repairs will take some time.
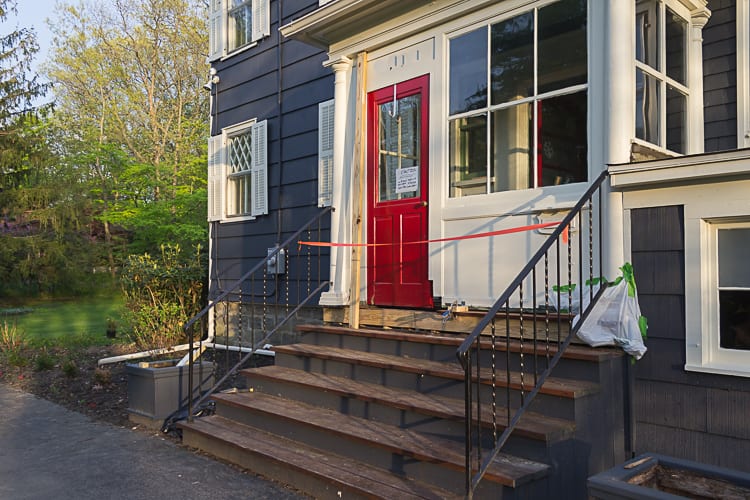
Dale and I are on the last few pieces of this rotten puzzle. Yesterday, we added a new 1×6 pressure-treated board all across the entire span of the front of the porch.
Although the wood frame behind that piece is in good shape, it is very old and dry. The pressure-treated wood will add strength. Later today, we are adding a solid oak stair riser in front of that. We will eventually screw the front edge of the Cumaru flooring to the oak.
This stage of the Street Side Front Porch project is a far cry from decorative doorbells and other delightful details, but it is very satisfying, nonetheless. Decor means nothing if it is just lipstick on a pig. (Please don’t send me angry messages defending pigs. I am sure they would all look adorable wearing lipstick.)
I am anxiously anticipating the day when the entryway looks more inviting than this:
Until then, we will keep plugging away, one problem at a time.
Tell me about your projects. What do you have going right now? Have there been any surprises, good or bad? Do you have any rotten horror stories of your own?
Start at the beginning:
week 1 | week 2 | week 3 | week 4 | week 5 | week 6

PS: Here are the links to our past ORC projects (AKA proof that I finish things!):
Breakfast Nook | Library | Dining Room | Kitchen Pantry

10 Comments
Andrea
Oh, this is GOOD! I mean, I’m terribly sorry that you have run into so many snags…that goes without saying. But that you have the time, the desire, the skill, and the Dale to slowly make everything right for BHH’s NEXT 100+ years….that’s really wonderful. This might be my favorite of your ORC projects.
Stacy
Thank you so much, Andrea. 🙂
SH
…the time, the desire, the skill, and the Dale–hahahaha Andrea.
No rotting wood here, yet. Condo building, new construction = always a finding stupid, cheap, unnecessary construction shortcuts. It has been so interesting and educational in how this project has to be deconstructed, and then how it’s rebuilt. Wishing you no more surprises!
Stacy
I have been surprised by how into this project I am. I did not realize that I would enjoy this type of construction so much. It is probably because I am learning how the porch was initially built, and it fascinates me.
Lori
I enjoy that you’re keeping it real! Too many home improvement blogs make things look so easy, which isn’t exactly true. I really enjoy reading about all this nuts & bolts stuff, maybe even more so than the decorating posts!
Stacy
Thank you so much, Lori. We have plenty of real around here. 😀
Mallory
Since you asked…. We aren’t doing the work ourselves, but what was supposed to be a simple basement remodel on our 1930 house (where we were actually excited to do some of the work) has turned into basically rebuilding our basement from the top of the foundation up to the first floor. All of the wood framing on the cripple wall is rotted away because it rains in Seattle, and the previous owners put up drywall over a leaking basement and ignored it for ~30 years. Because the main corner support posts are also gone, we have to actually cut away the stucco on the outside to properly install new posts and framing. I kick myself every day for falling for it, but I do still love our little Tudor bungalow. I’ve learned so much about old house construction in the couple of years that we’ve owned it. More than I’d like to know, perhaps. Eeek! I do love seeing all of the work you’ve done on your house though! It inspires me to keep learning, and hopefully if we buy another old house, I’ll know what to look for and feel comfortable fixing more things. They say to leave an old house in better condition than when you bought it, and we are definitely doing that, while remaining as true to the character of the house as possible 🙂
Stacy
Oh, Mallory! What a project. I can’t even imagine how you must feel as the job keeps getting bigger and bigger. I hope that once the work is complete, you’ll rest easier knowing you did the right thing and the construction was done the right way. You are most definitely leaving that house in better condition than it was in when you bought it.
Katherine
I just discovered your blog and have been reading on and off since yesterday morning. I grew up in rural NY and miss it terribly! Good work on the porch! It’s going to last for eons!
Stacy
Thank you, Katherine. 🙂 I’m glad you found the blog, and you are enjoying what you are reading. Welcome! It has been hard to get used to the NY winter, but the rest of the seasons get two thumbs up for me.