Happy Halloween to all you trick-or-treaters out there. Around these parts, it looks like it is going to be a tough night for candy-seeking. Currently, it is a cold, rainy day, and a few snowflakes are falling. Brrrrr.
Yesterday, I spent all day sealing cracks and gaps in the Breakfast Nook. I always think these little tasks will go more quickly than they do. If I owned my own construction company, I think it would be wise to hire someone else to be the estimator.
When I first started working in the Breakfast Nook, I thought that most of the heat loss was coming from the windows. While that was certainly true of the window that opens and closes, surprisingly, I felt the most draftiness coming up from the floor and around the edges of the walls. Unfortunately, with just two full weeks left, it is necessary to address the single-pane windows separately from this entire project. Sadly, there is not enough time to fix them all as part of the challenge. Rest assured, I will work on the windows as I can and share the project on the blog. For now, the work I did yesterday will go a long way towards improving the CQ (coziness quotient!*) of the Breakfast Nook. A small portable heater will help too.
*Thank you to our long-time reader, SH for coming up with the term CQ. It’s a good one!
Weatherizing the Small Window
(This post contains affiliate links)
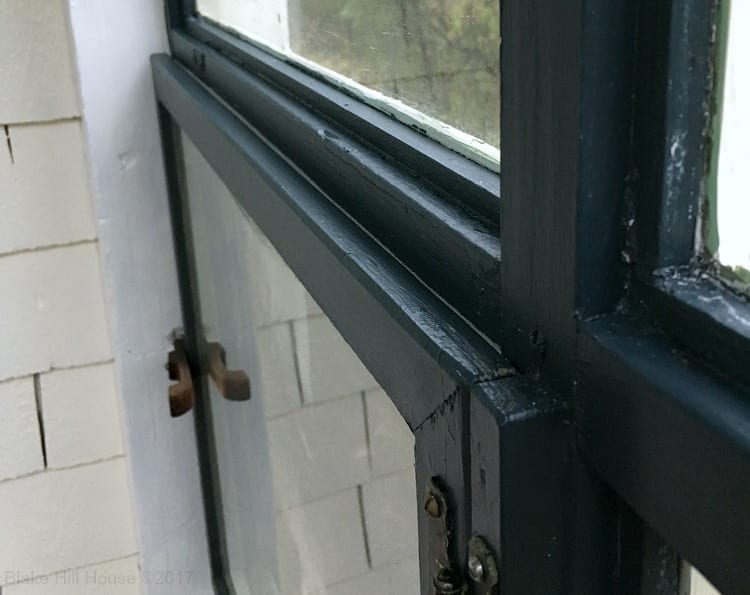
This cute little window leaked air like a sieve.
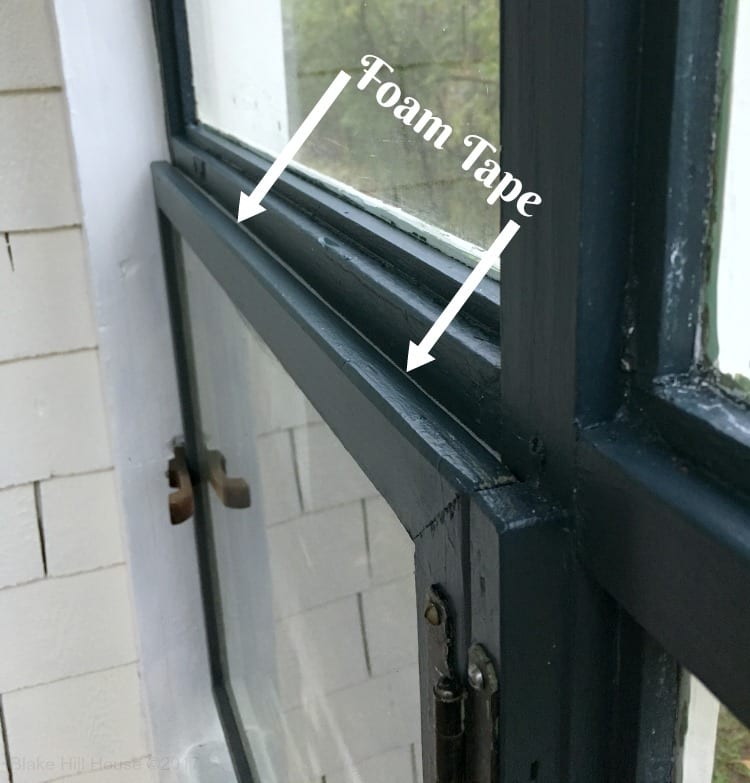
Luckily, a little Frost King weatherstripping foam tape solved that problem. I put one strip on the exterior inset frame of the window, and another around the edge of the window itself.

Now, the window fits snugly in its frame, and it presses tightly against the foam tape. The drafts are gone.
Filling Wall Gaps and Cracks
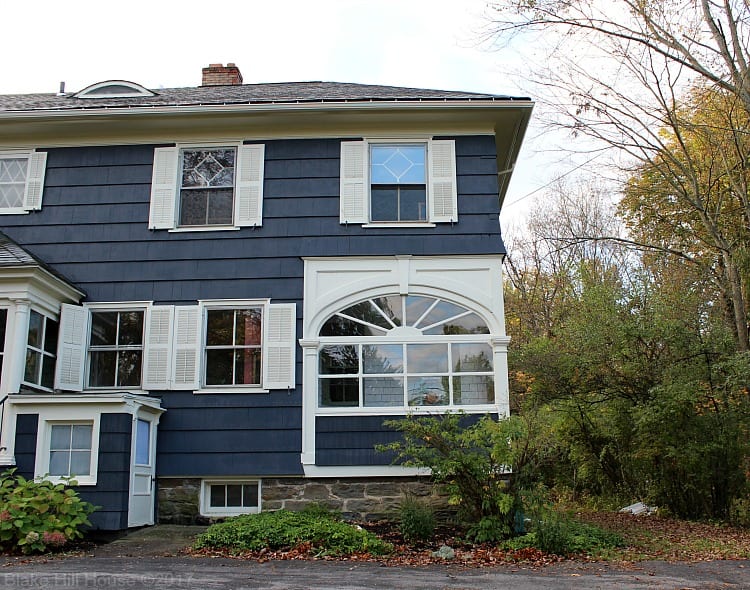
At one time, the breakfast nook was an open exterior porch. Although I have been searching for clues, so far, I have not figured out when someone added the walls. From the outside, the addition is seamless.
Inside, where the walls meet the shingles, there were plenty of gaps. I could feel air passing through the openings.
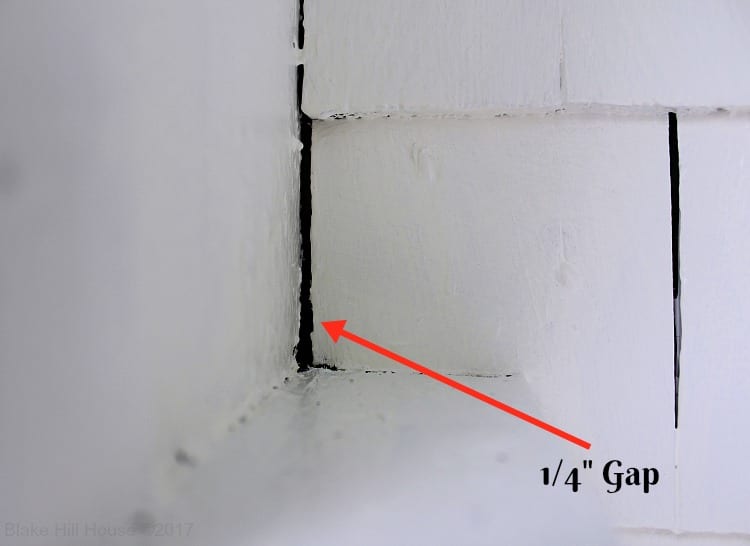
To close the gaps, I used thick foam strips which I cut into fourths.
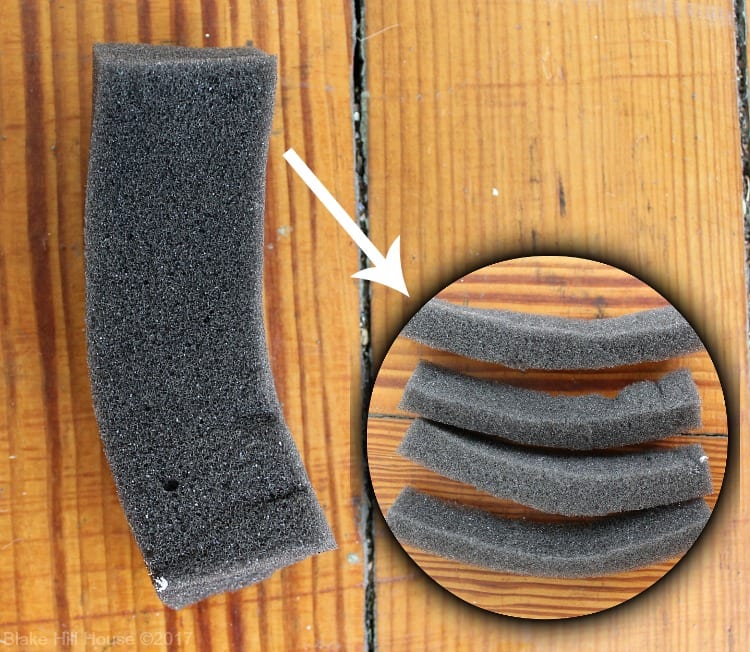
Stuffing the cracks served two purposes. It provided,
- Insulation from drafts
- A backer for the caulk
Using a flat head screwdriver, I wedged the foam into the gaps.
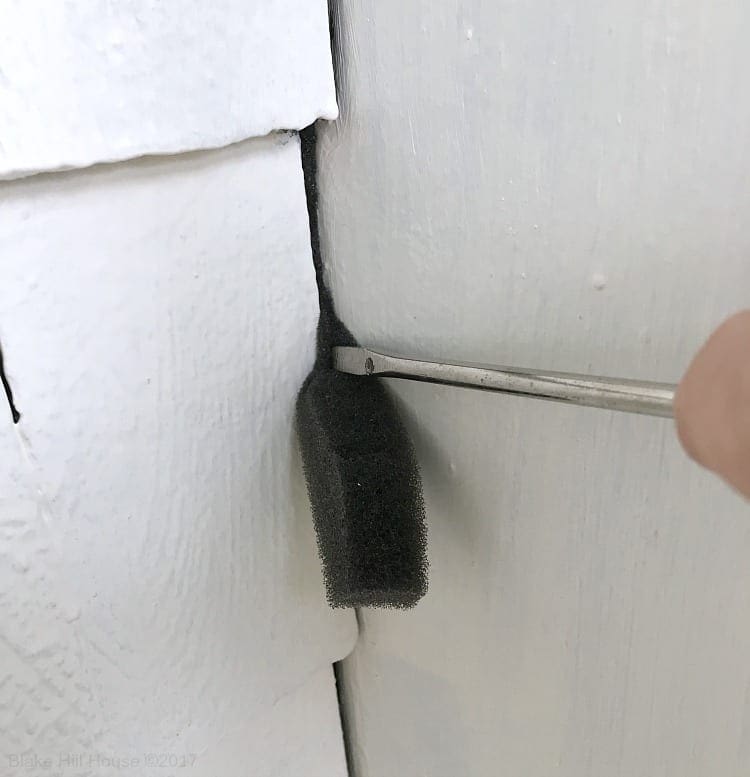
Once I pressed it into the gap, the foam was not visible anymore.
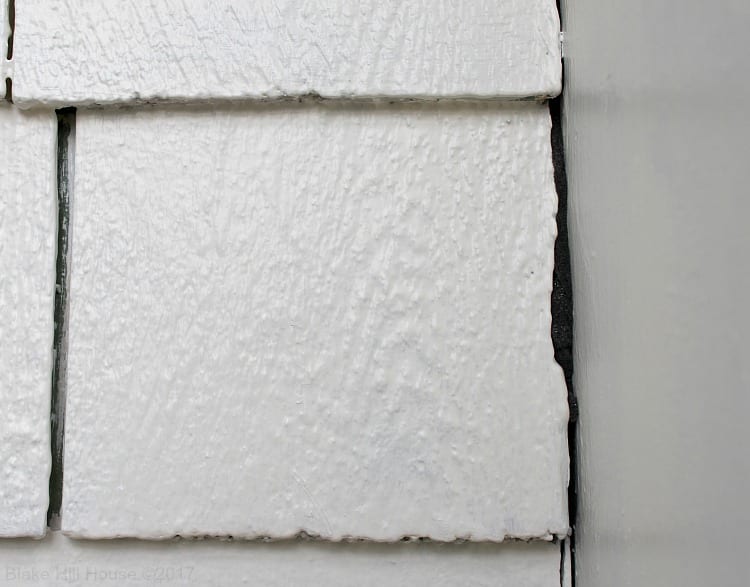
I followed the foam strips with a thick bead of caulk, smoothed it with a wet finger.
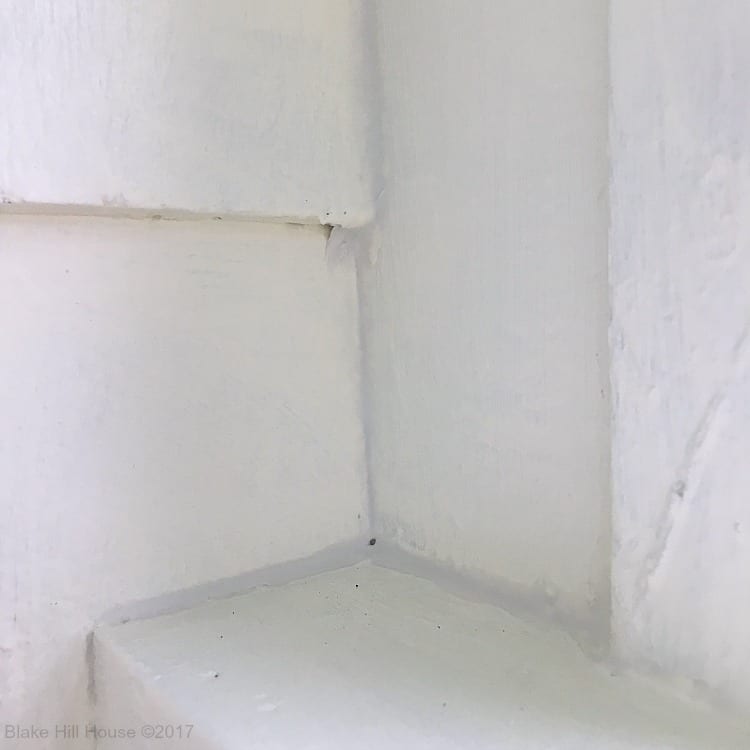
Right now, the caulk is visible. However, after I finish touching up the paint, it will blend in well.
Next up, I will address the floors. I have some insulation to put under the plywood floor. I am anxious to see how much warmer it feels after that. Just by completing the two weatherizing tasks in this post, there is a marked improvement. I should have documented the progress with a thermometer. Note to self: Do that next time.
Now, I am off to work on a floor. I wish you a lovely holiday full of safe fun, all of your favorite candy, and NO snow. It looks like we will be getting two out of our three wishes.


7 Comments
SH
Way to go with the clever, simple, and inexpensive solution to the leaky window. The CQ factor has been a lot of work so far, so i’m glad you are seeing an improvement already–another incentive to keep going. Thermometer checks from now on could be interesting. Snow. Yikes! (awww, a shout-out 🙂 )
Stacy
Thank you, SH! 🙂
Ame Jo Hughes
I think weatherizing is probably my second most satisfying task when it comes to improving a space (second only to painting). It makes such a huge difference!
I love the dark paint on the windows, btw.
And now, while I’m thinking about it, I’m going to go weatherize my crawl space door that’s leaking cold air into my basement. Thanks for the reminder 😉
Stacy
How did it go? Did you stop the leaks? 🙂
Ame Jo Hughes
Most of them, yes. It took a lot longer than I expected (story of my DIY life), and there are gaps that I had to fill with actual insulation. There are still a few gaps waiting for me to finish, but I haven’t gotten to them yet. I got expanding foam to go in those.
Jenny
Looking (and feeling, I bet!) good! This post reminds me of how in college, my husband (boyfriend at the time) lived in a big old drafty house with 4 other guys–it was so drafty you would feel a light breeze on your face in the living room, which was not great in February! You could see daylight through all the cracks around the bricks in the fireplace haha.
Stacy
Thank you, Jenny! Brrrrr. I can just imagine how that big drafty house felt.