Wowie! Thank you for all of the lovely comments about the big library reveal.
I woke up Friday feeling aimless. Without a goal, I pretty much just walked up and down the stairs forgetting why I did. If it is not apparent from past posts, rest does not really suit my personality. I could be persuaded if the state of Hawaii was involved. Since that is not the case, the aftermath of the One Room Challenge™ is a very messy house with a whole lot of tools and supplies to put away, and cleaning is no fun at all.
During the six-week challenge, it was tough to find the time to blog properly. It was all I could do to toss some pictures up on the blog and write a short caption for each. Today, I am taking a few minutes to share the budget breakdown. I linked to all of our sources within each budget list. If I missed anything, please feel free to ask about it in the comments section.
Let’s Have An Awkward Talk About Money.
I get a lot of comments about how great it is that we do our projects without the support of sponsors. While I do get a personal thrill out of flexing my creativity muscles to make these projects happen, honestly, I’m 100% jealous of any blogger that has a Lowe’s or Home Depot sponsorship. Sure, I’m a tiny bit jealous of the lighting and furniture sponsorships too, but I dream of the following exchange between me and my favorite big box hardware store.
Me: Um, I was wondering if I could have some paintbrushes for a big project.
Big Box Store: Of course! You are an important blogger which is totally a real job. How many do you need?
Me: Well, considering that I cannot find the right brush when I need it, is twenty-five or thirty an unreasonable request?
Big Box Store: Not a problem. What kind do you need? 1″, 2″, angled? Straight? Long-Handled? Short-Handled? Wooster? Store brand? Multi-purpose?
Me: Yes, please.
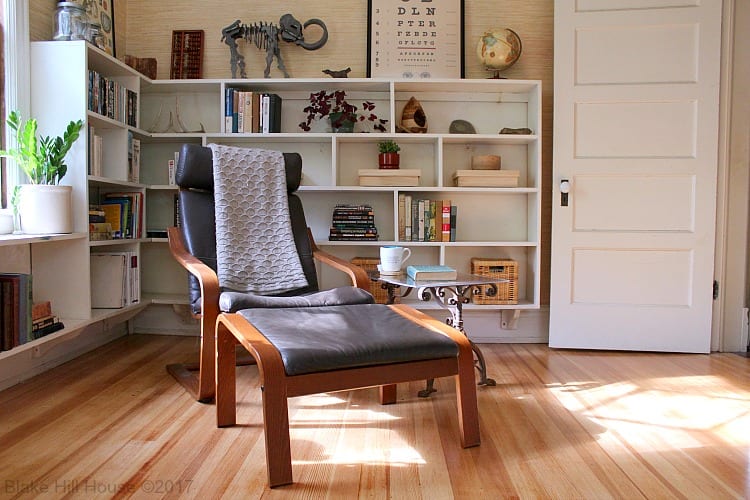
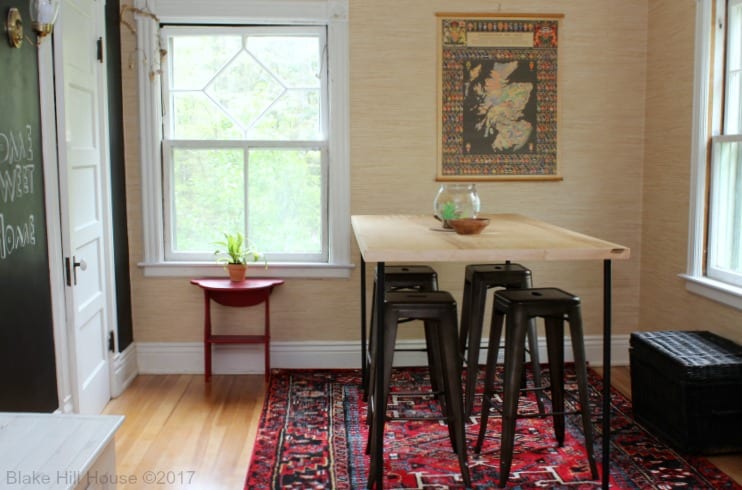
But enough of my fantasy. Let’s take another peek at the library, and I’ll tell you what actually happened.
This portion of the post contains affiliate links.
Basic Supplies
Included in this section are just the typical things we might have to buy for any project. I did buy these items this time around.
- Paint – One gallon $40 – Valspar Reserve color matched to Sherwin Williams Citilite. This shade is the basic white that we use all over the house. We used semi-gloss for this room.
- Paint Brushes – $35 (See? THIS is why we need a sponsor.)
- Primer – Zinnser Shieldz (wallpaper wall) – $18 (gallon)
- Primer – Zinnser Gardz (painted wall) $15 (quart)
- Wallpaper steamer rental – $33
- Ceiling Paint – $25
Total: $166
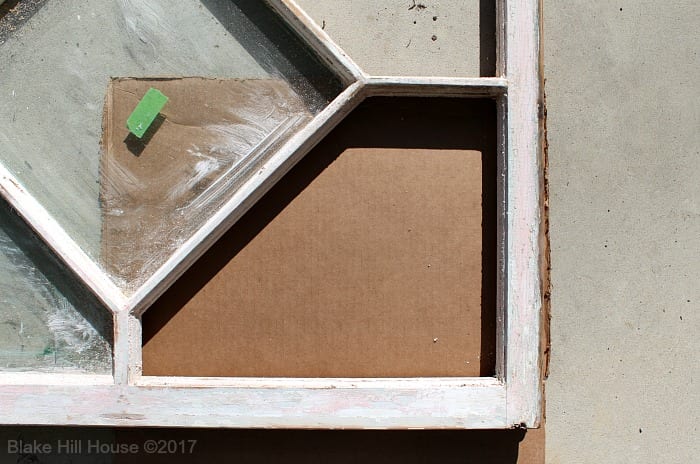
Window Restoration
I did not include the oil-based primer or the paint in this total. I already had the primer, and the paint is accounted for up above.
- Window Zipper – This tool is used to loosen sashes that are stuck. $7
- Sheet Metal Vice Grips (Duck-billed pliers) – These are used to remove the parting bead. $14
- Glass window panes (cut to order – 5 panes) – $33
- Wood for new parting bead (raw wood – A friend and I milled it down to parting bead size.) – $33
- Sarco Type M Glazing Putty (quart) – $28
Total: $115 (This covered three windows, and I have leftover product and tools for future window projects.)
Floor Refinishing

- Floor Sander Rental – $80
- Orbital Sander – (Ugh! I can’t believe I had to buy this!) $30
- Belt Sander (This one too!) $56
- Random sandpaper – $28
- Minwax Ultimate Floor Finish – Satin (gallon) – $80
Total: $274
DIY Stand-up work table
- Maple Plywood – $50
- Maple trim wood – $77 (I only needed $44 worth, but I totally messed up this project.)
- Black spray paint – $6
- Metal Pipe & Flanges – $84
- Compressor rental for the brad nailer (We also used this to put the moulding back up.) $20
Total: $237 (ridiculous!)
Everything Else
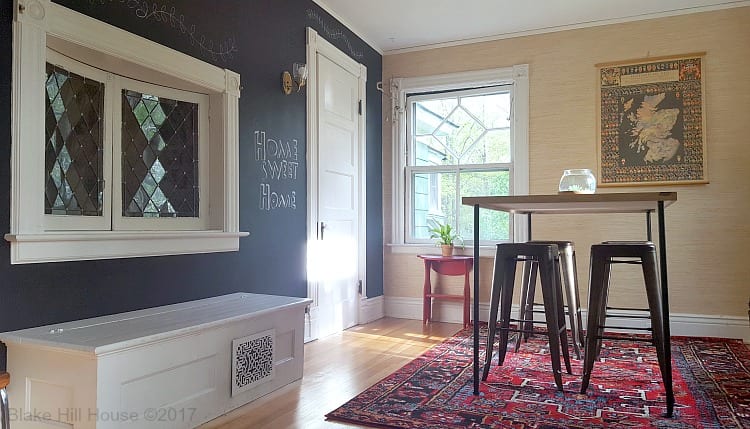
- New Ceiling – $600 (This was a splurge expense and totally worth every penny. I touched on the reason why we did this during the week three post.)
- The gorgeous red rug! from Overstock – $153 (This rug changed price three times in six weeks. Tip: Hold out for a lower price.)
- 30 ” Bar stools (Vintage color) from Overstock – $174/four – These stools are sold in sets of 2. (The price changed twice during six weeks. I bought low.)
- Grasscloth Wallpaper from Wayfair (5 rolls of Beige – This is available in other neutral colors.) – $175
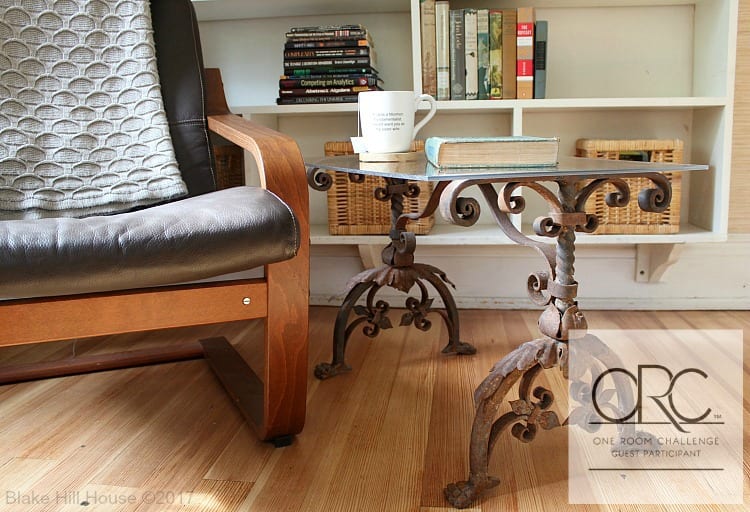
- 18″X24″ Plexiglass for table top – $22
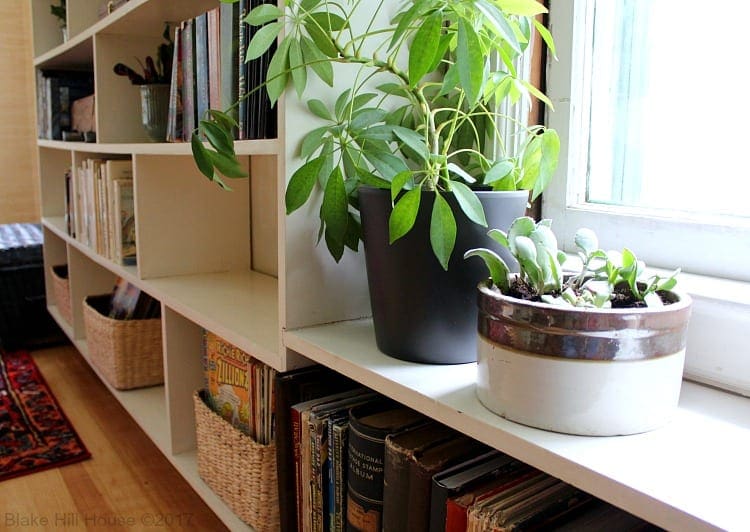
- Plants and pots – $45
Total: $1170 (rounded)
Grand Total: $1962.
I intended to spend around $1000 on this whole project. So yeah, over budget by only $962. (only, ha!) We could have saved by not doing the ceiling, and we did end up with about $240 worth of tools and leftover supplies that we will use on additional projects in the future. If you subtract those two amounts, the project is close to budget. Of course, that is not how it works, but that’s my spin on it.
If we had more money to spend, I would buy these ahhhmazing articulating wall sconces from Rejuvenation (aged brass – prismatic shade – $600(!) for two). The library deserves new crown moulding too, and I would buy this profile from Metrie (Guestimate: $700-$800 for the library). These items will go on a wishlist, and perhaps we can add them in the future.
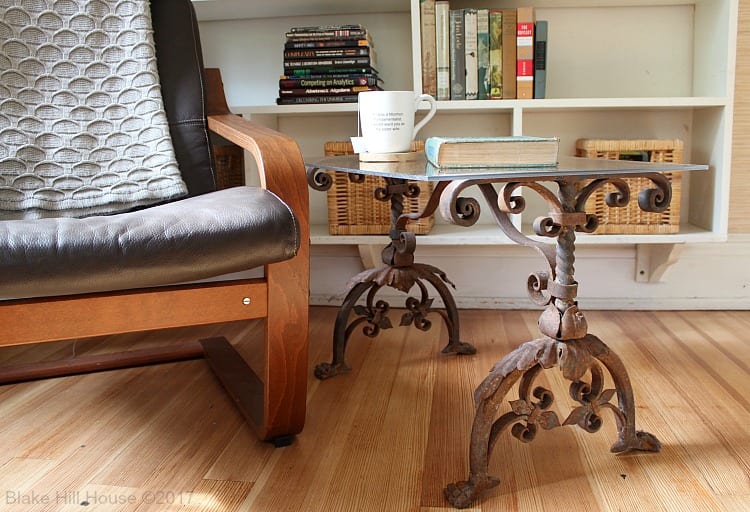
Everything else in the room is something that we already owned including the Cavallini Papers posters which I linked below. We hung three in the library, but we have a different butterfly image in the kitchen and birds in the dining room. If I had my way, I would hang one in every single room. Some people might call that overkill. I call it cohesive design. Keep in mind that I have zero training whatsoever. I just like what I like.
Posters by Cavallini Papers
[supsystic-gallery id=’3′]
The library ended up being one of our highest priced DIY projects. For reference, we spent about $125 on the kitchen pantry during our first ORC and $165 (about $130 out-of-pocket) for the dining room, which was our second ORC room. The kids’ bedrooms and the other rooms fell somewhere in between that low and high. I do not regret the expense of restoring and renovating the library at all. It is a very special place. We spend a lot of time here, and our guests see it too. This project was worth every penny.
Now, I’m off to make sure Gil is still alive. His lack of communication makes it difficult to determine if he is thrilled in his new home or if he misses the little plastic cup he lived in at Petsmart.
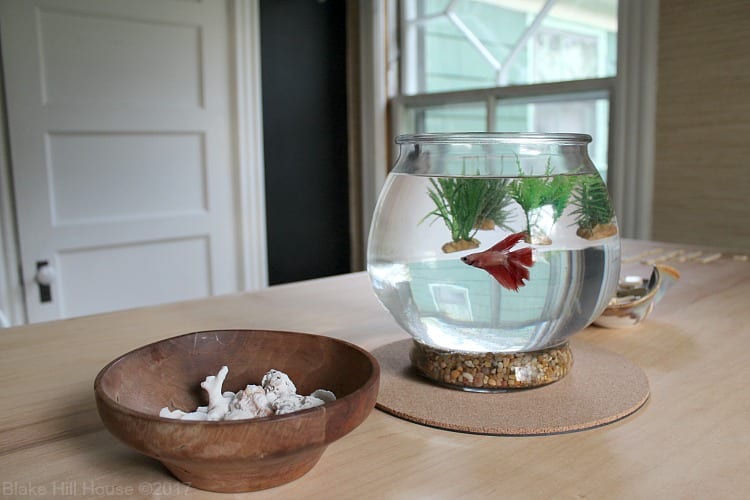
ETA: Good news! He is alive and well.
Have a great weekend!


7 Comments
SH
Still a very good (real life) budget. The library had more damage than the dining room, I think? You did the floors and ceiling this time. Repaired windows etc. And definitely subtract leftover supplies. Some rooms just need more love. I follow this blog because it’s real. Thanks for posting.
Stacy
Thank you, SH! Sorry I fell off the face of the earth and did not respond to your comment. 🙂 Overall, I am pleased with the amount it cost to bring this room back to 100%. I just need to get better at estimating. That will come with time, I’m sure.
Devyn
You did well! Thanks for the link to the Cavallini & Co. papers.
I am nowhere near as miserly when it comes to projects (just ask my husband). Investing in tools is part of every project. I have reluctantly purchased what I thought to be single purpose tools I didn’t think I would use much for only to find all sorts of uses for once I had it. Case in point, these two goodies… I had known idea how I got to this point in life without an oscillating multi-tool (this one: http://a.co/2nyQk82) and my pancake compressor. (this one: http://a.co/9Zf7492).
I applaud you doing the floors on your own. I am nervous about using a floor sander, but I am sure I will figure it out like most of the other things I have DIY’d
Stacy
Sorry I fell off the face of the earth and did not answer this. Thank you for the links. I think I need that pancake compressor. BTW-I had no idea what a pancake compressor was before you commented. 😀
The sander is physically easy to use, but it’s a bit of an art to get the job done flawlessly, and I am no artist. We need to refinish the downstairs floors, and I’m catching my breath for awhile before we do. It is a job that will require far more precision, and the errors will be more noticeable too.
Ame
I think what you spent is still fantastic for the overall outcome and what you did in the room. The prospect of a Lowe’s sponsorship is just…aaaaaah. I can’t believe you don’t already have one. Lowe’s, Home Depot, what are you waiting for?? (I agree with you that that would be preferable to the lighting and furniture sponsors.)
Cath Young
You did very well for the results you got. Absolutely, that ceiling was worth spending the money. You do so much yourselves that I am so envious. I’m not as skilled at all which means I have to pay pros to come in and do the work. So a room like that would have cost me as much, most likely much more. So no new items like the table, stools, grass cloth wall paper, rug, etc and still have to shell out for the floor work. Would have painted the room.
Stacy
Thanks, Cath. We do get stuck on a lot of projects that we cannot DIY yet, so I understand where you are coming from on this topic.