
The floor refinishing project continues. A few people have asked me if we are done yet. I wish, but no we are not. The timeline has stretched out a little, but I think our expectations were mostly realistic. One thing that has changed is that instead of doing the sanding and refinishing in two phases, we split it into three. Since the work is physically demanding and a small inconvenience in our daily routine, we opted to divide the living room and foyer into two sanding sessions instead of one.
What We Have Finished
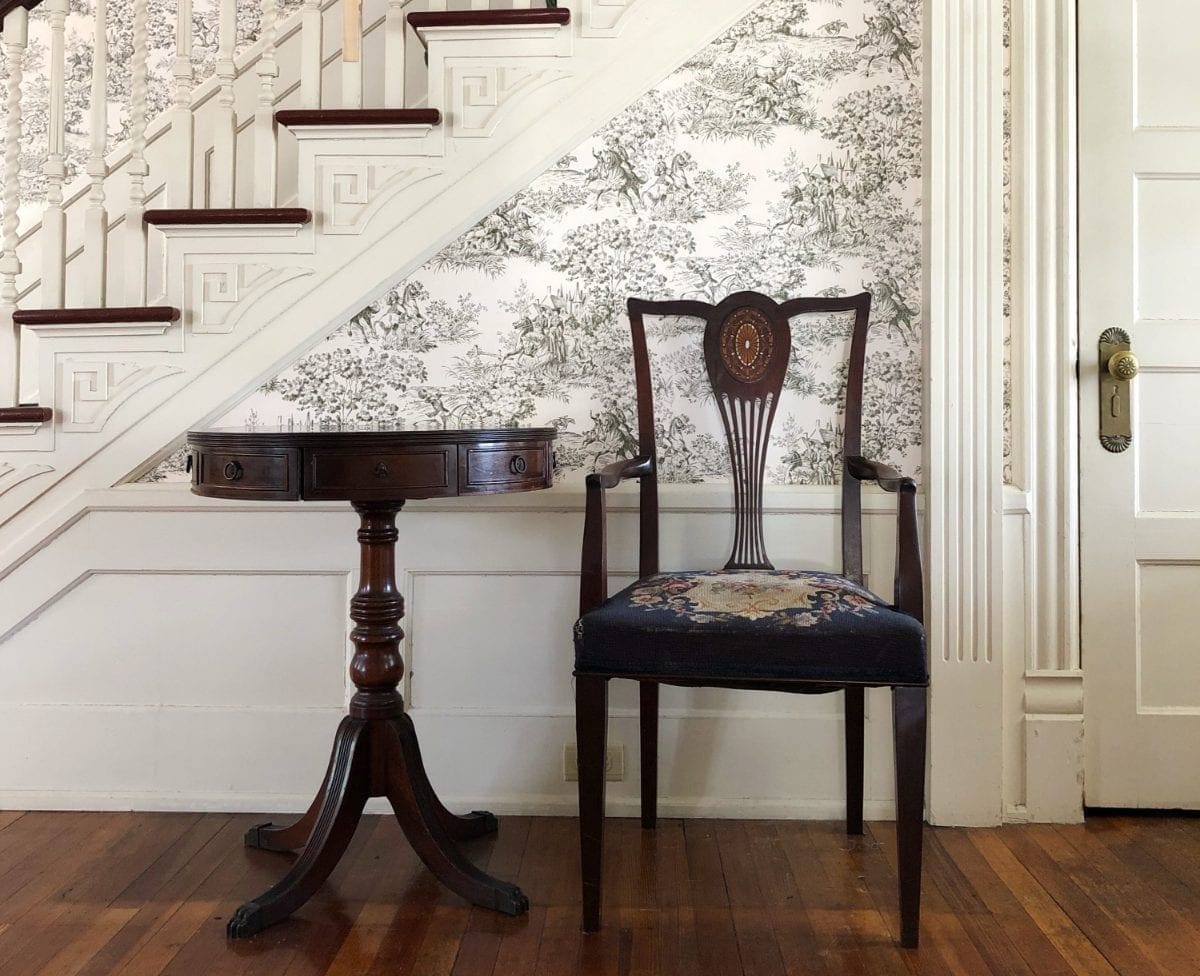
Right now we are finished with the laundry room/my office and the hall. Can I get a high five? Both need baseboard and shoe molding work, but the floors are sanded and sealed with Rubio Monocoat.


People who do not love orange undertones may not be enamored with the color, but we love it. The finish is silky and soft. Some of the paint shades clash with the new, pure tone of the floor, but we will tackle painting soon.
In Progress
The dining room is completely sanded and ready for Rubio Monocoat. That is not breaking news exactly. I did a little extra work on some swirl marks, and I am excited to move on to the next step.

The foyer is currently in the rough-sanded phase. I will be doing all of the finish sanding Friday and Saturday at the end of this week. As I mentioned above, we planned to combine the living room and foyer as one phase. However, logistically, it made more sense to connect it with the dining room.

Currently, we are using the back staircase to get to the kitchen. Did you know that BHH has a back staircase? I am not sure if I have ever shared a picture. It is narrow and steep. Millie, having four lanky legs, has already bitten the dust twice trying to bound down quickly to get to her food dish. That girl loves to eat. Full disclosure: I slid down the stairs on my butt the first night we used them. (I’m fine, mom!) This poorly lit iPhone photo is not the best representation, but you get the gist.

Once I saw how pretty the room looked with sanded floors, I couldn’t take that worn-out stinky green rug runner even one more day, and poof! I made it disappear.

Even in this terrible state, the stairs look better to me now than they did with that carpet runner. Oh goodness! That means the stairs are phase IV. I’m not going to think about that right now.
What’s Next?
During the finish sanding on Friday, I will blend any rough edges between the foyer and the dining room. Then, on Sunday, the plan is to spread the Rubio Monocoat on both via a floor maintainer. We will be able to walk on the floor gently in sock feet after about eight hours. My daughter and I leave for Florida the following weekend. Since everyone can use the back staircase, we will wait to start putting the rooms back together until after vacation. There is no need to rush it.
Last up is the living room. I have not scheduled that phase yet, but I know it will be within the first two weeks of April. The One Room Challenge starts April 4 (Hold me!), and I do not want to let the last part of the floor refinishing project linger.
I’ll leave you with a few more in-progress photos.


Are you still here for this? This middle part is sort of like watching the second movie in the Lord of the Rings trilogy. I don’t know about you, but a three-hour film about Hobbits hiking seemed excessive to me. I paid $8 to take a head-bobbing nap. Maybe this whole floor refinishing project is an $8 nap. Oh! I hope not.
Note to self: Find out if your target demographic includes LOTR fans. If it does, offer an apology for this part of the post.
The before-and-after post is going to be a good one, and I hope you can stay awake for it.

13 Comments
Liz
Love watching (reading?) this project, but I must say that simply removing the stair runner has taken the house to a whole new level! It allows the floor and wallpaper to shine! Great instincts, Stacey!
Stacy
Thank you so much, Liz. I’m very torn about putting a new runner on the stairs, but it is the safest option. Treads are another option. Do you have any ideas?
Liz
I totally agree that another runner is needed for safety, but probably one that is subdued to let the floors and walls take the lead. I think a runner would be more elegant than treads. I can’t speak to the quality, but I just found one on Amazon that is a subtle gray, with a slightly patterned black border. I was operating under the assumption that the toile wallpaper pattern is a sort of charcoal, as it appears in pictures. I am confident that whatever you choose will be wonderful. After all, look at the rooms you’ve completed!
Stacy
I like your idea, and I will start looking at similar patterns. Thank you. The toile pattern looks like charcoal from far away, but of course, it is…green. 😀 Surprise! It is a very neutral shade overall, so we will be able to find a runner that works well with it.
Susan
This is fascinating to me! I love the details of real projects including the actual times lines, ups and downs, messes, falls and victories. Nothing head bobbing for this reader!!
Stacy
I am glad to know that you are enjoying watching the project even though it is a little slow going. Thank you for sticking with me.
Devyn
Love…. The floors are beautiful! The staircase will be a big deal, but I have total faith in your abilities (and drive).
I so wish we could redo our wonky heart pine floors (with no subfloor and plenty of gaps) on our main floor.
Stacy
Thank you, Devyn. 🙂 I’ve been thinking about your floors a lot. I’ll let you know if I come up with any good ideas.
Brian
Well done guys!
The finished floor in the laundry room looks great. I run a professional wood floor refinishing business and the time and effort needed to do these without professional equipment is huge and takes a lot of dedication… hats off to the both of you. You’re getting a much better result than a lot of DIY floors I see. Enjoy your floors!
Stacy
Thank you so much, Brian. I value all opinions, but reading yours as a floor refinishing professional, makes me feel even better! Our backs may never be the same, but hey! The wood floors will be buttery smooth. 🙂
Em
Hilariously written. I love seeing your progress. I wish I’d known about the Monocoat when we had our floors redone…but bet it would have been hard to convince a contractor to use it. So cool that you’re doing it yourself!
Stacy
Thanks, Em! 🙂 We have a local floor refinisher who uses Monocoat quite a bit. Perhaps it’s catching on. I’m hopeful.
Andrew
Glad you gave us the update, these look amazing. I love to see people using their hardwood floors instead of tearing them up. Great work!