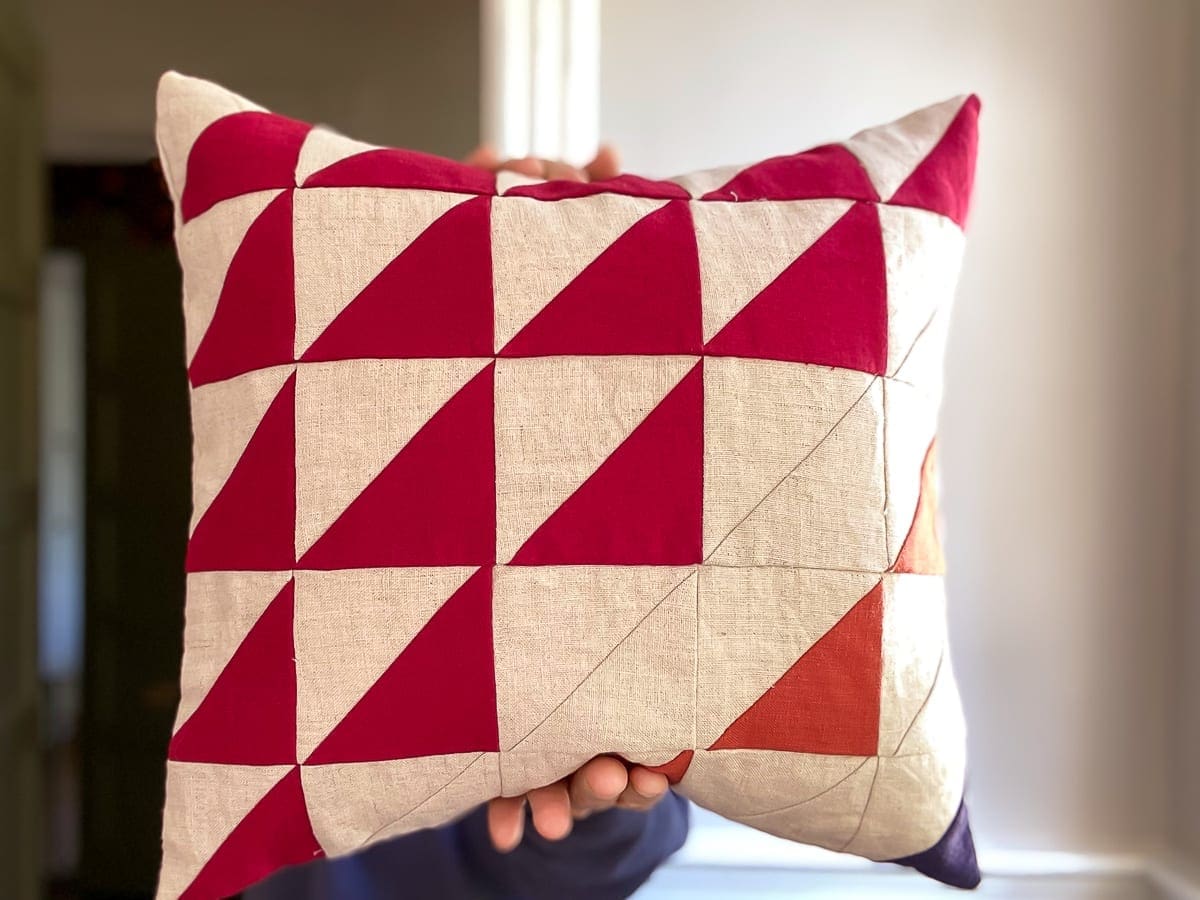
During the last One Room Challenge, my mom and I made some fun pillow covers, and I kept meaning to follow up that post with a sewing tutorial because you can make a pillow cover out of almost any kind of fabric. For the pillows in the first part of this tutorial, my mom pieced together the triangle fronts. However, the botanical ones in the second part are made from cloth napkins! This how-to post will show you all the steps to sew an easy pillow cover with an intermediate option too.

Hotly debated tip! Wash all of your fabric and iron it before you begin. Some fabrics, especially 100% cotton and linen, shrink when they are washed. So, if you make your pillow cover first and then wash it, it may shrink unevenly and not fit your pillow insert after. This is a hotly debated tip because many sewists do not do this anymore and don’t think it’s necessary. I prefer to err on the safe side, but I stop short of calling anyone’s opinion wrong.
This post contains affiliate links.
How to Sew an Envelope Back Pillow Cover: Level = Easy
- Decide what size you’d like your pillow to be. Cut a square or rectangle for the front, 1/2″ larger on all four sides. This extra will serve as your seam allowance. Alternately, choose a fun cloth napkin to use instead. Remove the hem with a seam ripper and cut off the first fold crease. The remaining crease will serve as your seam allowance. The size of your napkin will determine the size of your pillow.
- Cut a matching or coordinating rectangle of fabric the same width as your pillow and about 8 inches longer. (tip: If your fabric is even slightly wrinkled, iron it first.)
Note: My mother pieced this fancy top together for me. However, don’t get overwhelmed by all of the seams. The full shape is just a simple rectangle.

- Cut the back in half, top to bottom, and hem the two new raw edges from that cut. Sew the hem or secure it with Heat n Bond iron-on adhesive tape. (Shown in the picture below)


To sew a hem, press the raw edge under about ¼”. Then, turn it under again ½” or so, press, and sew down the edge. Some patterns require precise hem widths. These pillow covers do not.
- With right sides together, line up the outer edges of the front and the two back pieces of your pillow. Overlap the hemmed sections.


- Pin or clip the outside edges or at least the overlapped sections to keep the fabric from shifting.


- Sew around the entire perimeter of the pillow about 1/2” from the edge, taking care to catch both sections of the overlapped pieces.
- Clip the corners as shown being careful not to clip the actual sewing stitches.


- Turn the cover right side out and use your finger or a chopstick to “gently” poke the corners into sharp points. Give the cover an allover press with the iron.

- Stuff your new cover with a pillow insert about 2” larger all around than your cover for a nice firm throw pillow.


Hot tip (pun intended): The iron is your friend. Use it to shape or flatten any imperfections.
Level up! Intermediate to High Intermediate – Adding Piping
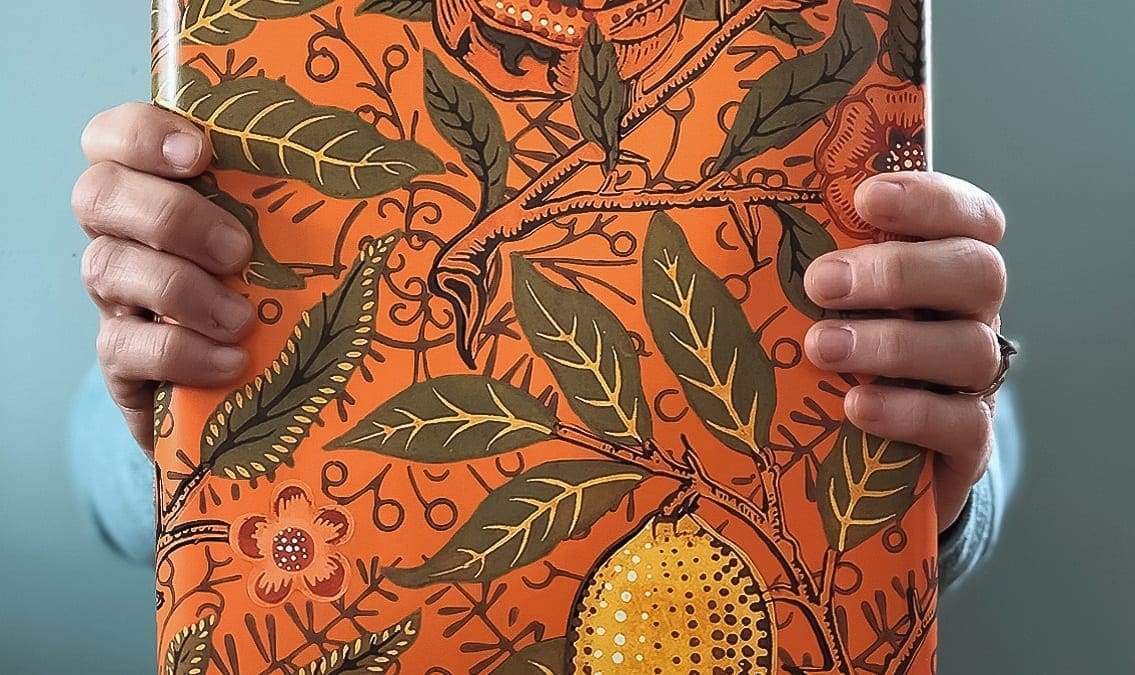
Now that you’ve got the basics of how to sew an easy pillow cover down, you might be ready for an upgrade. For the floral pillow that I made for the One Room Challenge, I added coordinating red piping.

I suggest the piping step for intermediate to high intermediate sewists only because it requires the ability to control and operate the sewing machine comfortably. This may include changing presser feet. However, the overall design is not more difficult, so go for it if you feel confident adding piping as a new sewist!
- Follow all of the same steps for the easy level, and stop when you have the two pieces of the back hemmed or pressed with Heat n Bond.

- Then, baste the piping to the front of your pillow using a nice long stitch length. Keep the stitch as close to the enclosed cord as possible. Use pins as needed.
- Clip the piping fabric near in the corners to ease it around the edges in a curve. (These pillows will have rounded corners instead of pointed.) Go as slowly as you need to around the corners. Sometimes, I even turn the wheel by hand to maintain control.

- When you have sewn the piping to the front all the way around, overlap the ends of the piping, sew past where you started, and clip off the excess.
Tip: Using a zipper foot and moving your sewing machine needle to the left will make sewing piping easier. For this project, I used a plastic piping foot, also called a trim foot. I moved my needle to the left to get it as close to the piping cord as possible.
- With right sides together, lay and overlap the back pieces on the front as described in the first tutorial.


- Adjust your stitch length to a normal size to stitch the back to front. Flip the pillow over so you can see your basting stitch, and sew the front to the back directly onto your basting stitch. Follow the basting stitch like a path all the way around the pillow.

- Round and clip the corners being careful not to clip your stitches.

- Turn the cover right side out and round out the corners with your fingers. Give the cover an allover press with the iron.

- Pull out any visible basting stitches carefully with a seam ripper and a pair of tweezers.
- Finally, stuff your new cover with a pillow insert 2” larger all around than your cover for a nice firm throw pillow.


Remember that you can sew an easy pillow cover from any fabric that catches your eye, new or used. For example, you may have a pretty print cut at the fabric store or even use a vintage handkerchief. However, if you use a handkerchief, I suggest reinforcing it with fusible interfacing to make it more durable and easier to sew. Then, proceed as normal.
If you’re just starting to sew and want to buy a sewing machine, you may find this post helpful: Sewing Machines for Beginners.
Be sure to pin this post for later, and if you have any questions or run into problems with this tutorial, let me know in the comments.