Finally, we are getting somewhere in The Scary Bathroom. It is starting to look less like a trash pit and more like an actual bathroom, you know, where people take showers and get ready for work and stuff.
Well, perhaps I spoke out of turn. However, the room does seem full of possibility again.

The Scary Bathroom: Week 1 | Week 2 | Week 3
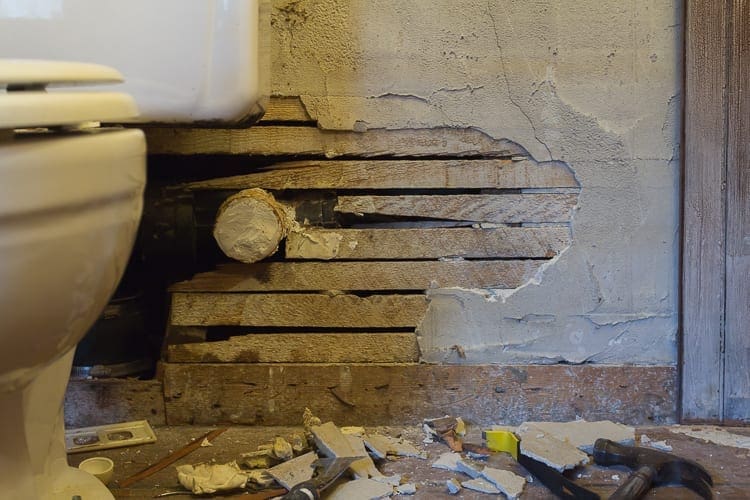
Last weekend, the Scary Bathroom still looked like this:
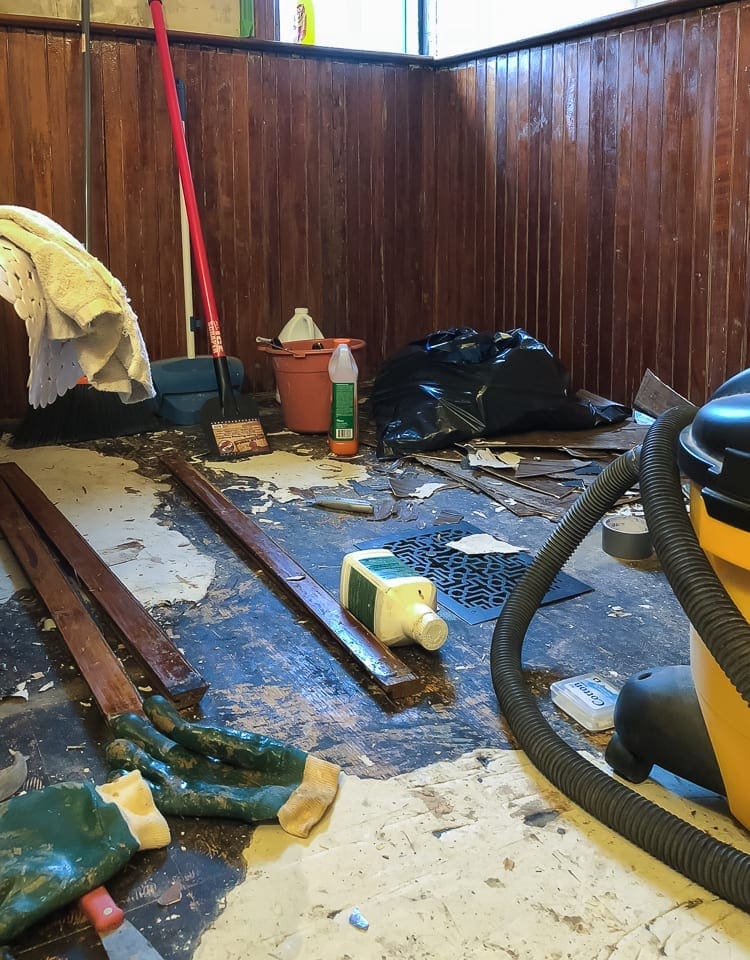
Disaster!
This week, things are looking up. There are still many moving parts with this restoration and renovation, so here are all the updates.
Upper Walls
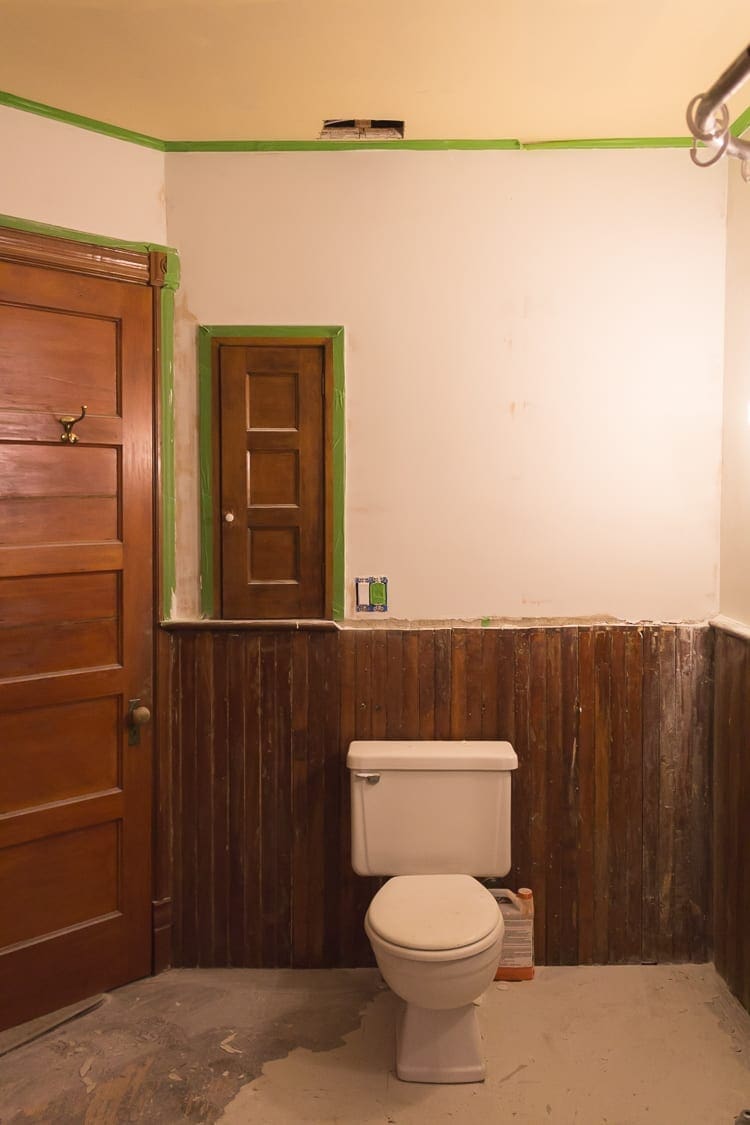
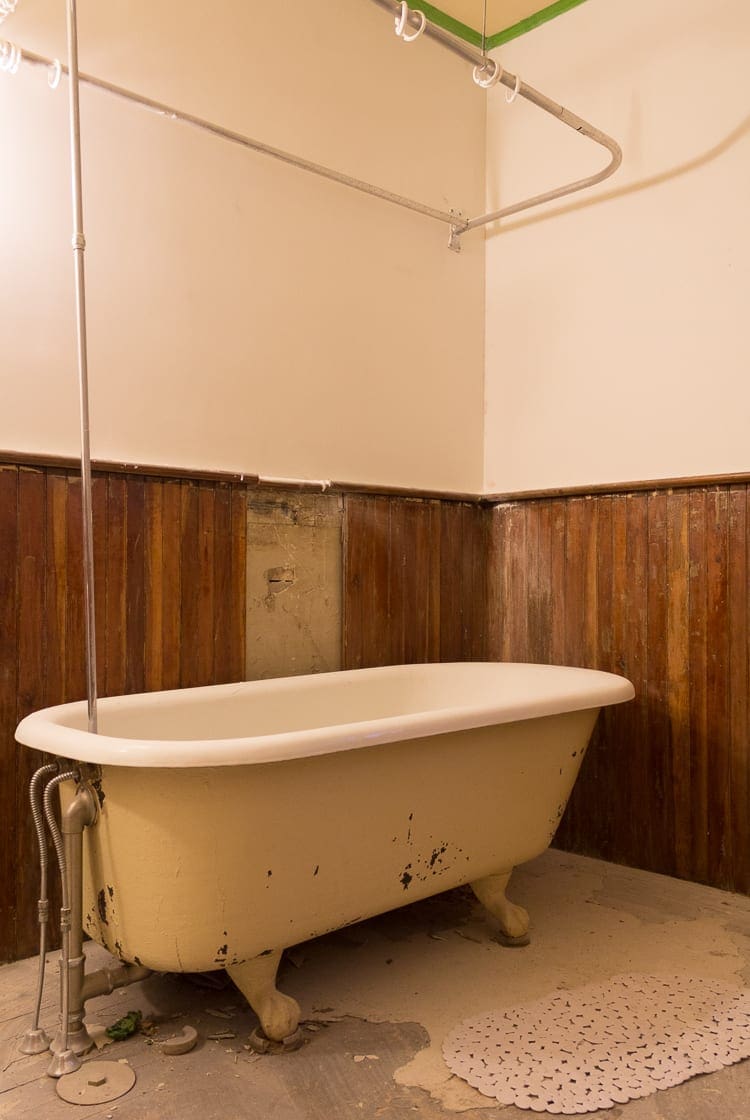
The upper walls are smooth and ready for paint. The guy I hired did indeed come back from his Florida vacation. His work was stellar, and you can bet I programmed his number into my phone. If anyone local needs a drywall finishing guy, shoot me a message. I will happily recommend him.
The picture at the top of this post shows the walls ready for primer and paint.
Wainscoting
The most significant change with the wainscoting is that I reinstalled the missing pieces behind the toilet. That ended up being quite a project.
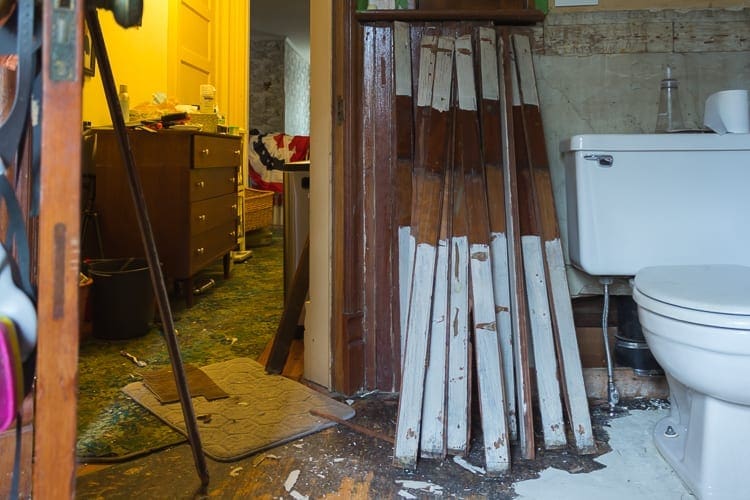
(I cannot wait until the house is tidy again. Ugh! That hall. I’m feeling reno fatigue. Make it all go away, please.)
First, I stripped every board. Unfortunately, many of the pieces were in rough shape. Often part of the tongue was missing, or the groove was partly crushed. Even so, they tapped into place pretty well, and the reveal hid all of it.
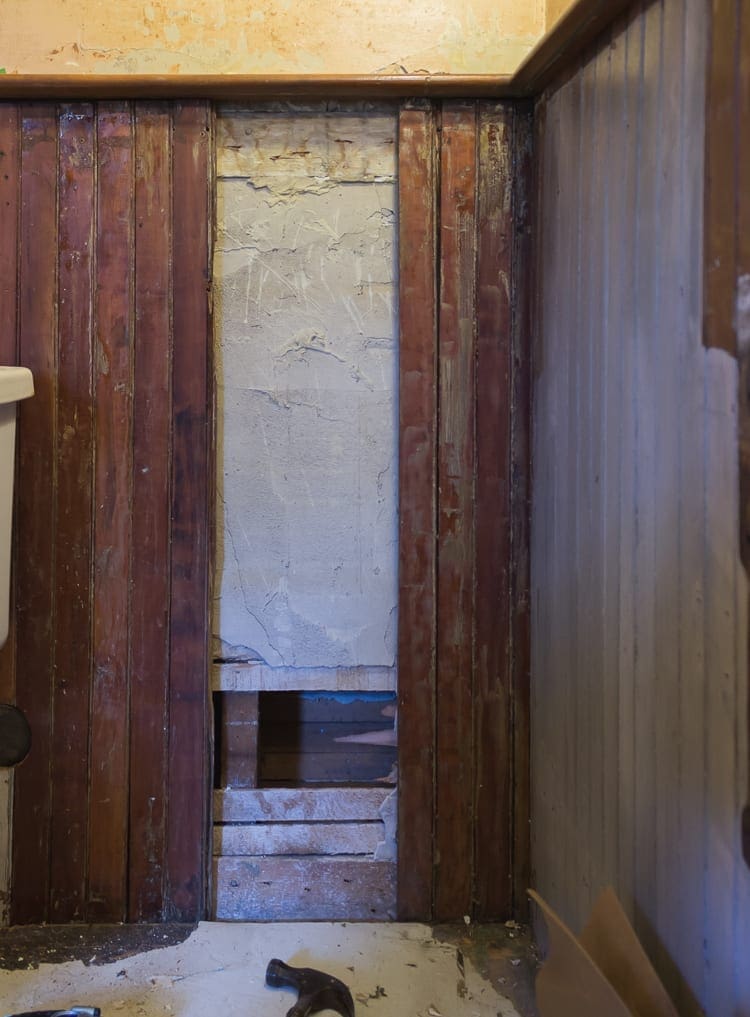
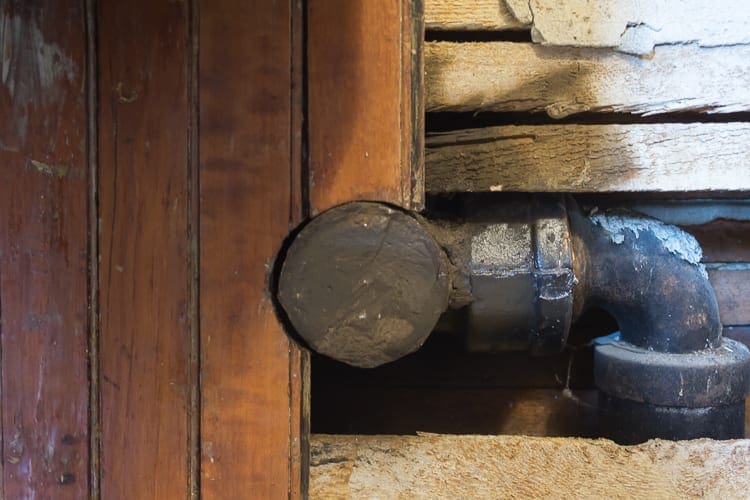
There was a little situation behind the toilet with a cast iron pipe. Perhaps it was the pipe for the original toilet? Whatever it was, someone filled it with cement, and it stuck out slightly beyond the wainscoting.
Since that pipe was going nowhere, I hit it with some brown spray paint and cut the pieces to fit around it.
To get a good fit, I did a combination of eyeballing and tracing a paper template. Luckily, I found the left side piece with the semi-circle already cut. The top and bottom middle portions were pretty simple to fit because I could cut slivers off the straight edges until the curve fit just right. For the right side, I made a paper pattern that I traced directly on the wood.
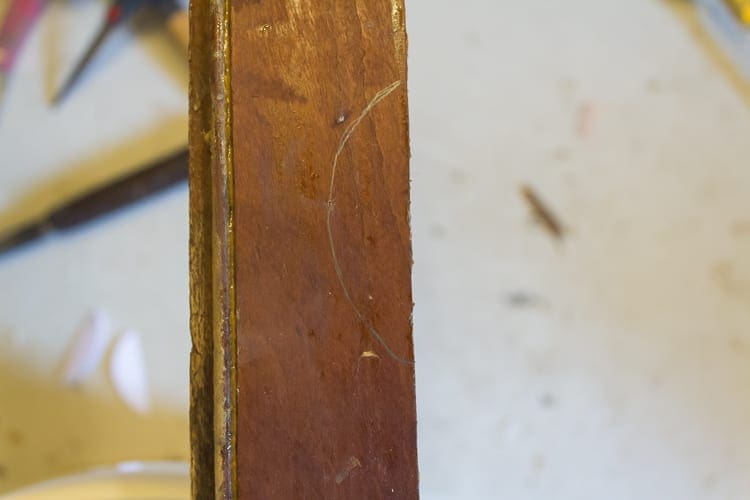
I cut the curves with a jigsaw.
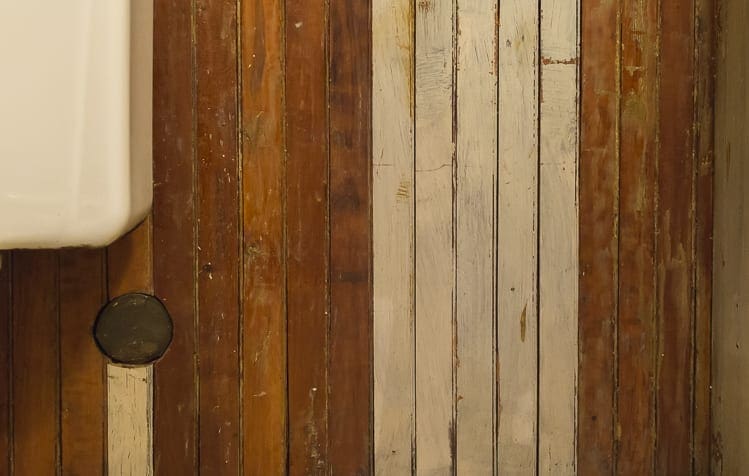
It all worked out rather nicely. The white portion in the photo above is the section that I scavenged from behind the tub. The bad news is that there is a gap behind the tub. The good news is that it will be hidden by the shower curtain for now, and eventually, when we do the full renovation, that portion of the wall will be a tile shower anyway.
Fixing up old houses is all about creative solutions.
The Marble Sink
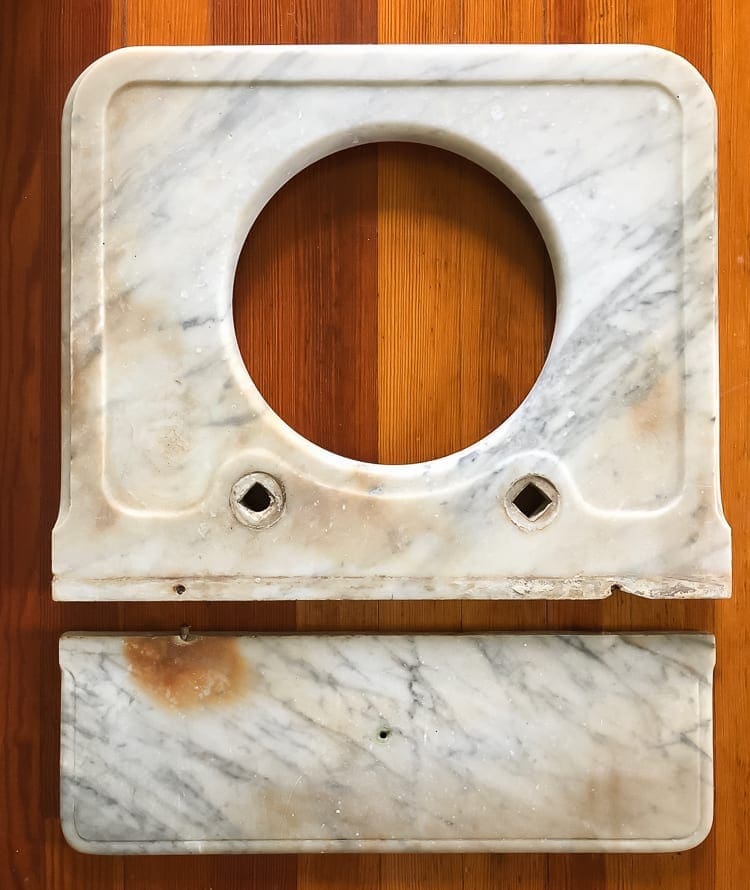
I have nothing to show yet except this disassembled sink. As I write this, the marble is covered in a poultice of baking soda and water. It’s the second pass with this method, and unfortunately, it is not working well. I’ll be pulling out the big guns (toxic chemicals) in the next few days. Once this project is complete, I will write a full tutorial post. Many people have asked me how to restore marble, and I’ll let you know.
What’s Left?
I would update the to-do list, but at this point, I think it would just overwhelm me too much. Let’s just say that there is a lot left to do, (so much cleaning!) but this room has come so far. By week six, it will be ready, and I’m feeling zen about it all.
Some of my week four friends, featured designers and guest participants, are already almost done! I am so very jealous. Please take a look at what everyone else is working on too.
Finally, I have a question for all of you. Which projects are you most interested in reading about in a full tutorial post? That is the one bummer about the One Room Challenge. The pace is so fast that it leaves little time for in-depth explanations. I feel like each week is just me throwing a whole bunch of randomness into a blog post and then running away to work again. Writing articles with a bit of substance would feel more meaningful, so let me know.
Thank you for your feedback. Until next week, I’ll be over on Instagram.

PS: It has come to my attention that some people may have trouble leaving a comment on my posts. I recently activated my SSL certificate, and that might be why. If you have trouble, would you mind dropping an e-mail to di*@************se.com to let me know? Then, I can troubleshoot the problem. Thanks!
PPS: If you are interested in our past ORC projects, here are the links:
Kitchen Pantry | Street Side Front Porch | Library | Breakfast Nook (featured in This Old House magazine! | Dining Room

10 Comments
Em
Can’t wait to see the sink, and hope the poultice works well! This project seems like a ton of physical labor, and I continue to be super-impressed!
Stacy
Thank you, Em!
Cate
You’re doing such amazing work! What a project to tackle in six weeks. I absolutely can’t wait to see how it all turns out. Off to check out your past ORCs…
Stacy
Thank you, Cate. 🙂
Emy
The bathroom is looking great! I hope something works on that gorgeous marble sink.
For your https, make sure that you change it in both places in your google analytics. And if you use siteground, they have a plugin that makes everything work nicely with the https.
Stacy
Thank you so much for this info, Emy. I will apply your recommendations.
Sarah
Great work! It’s so helpful to see someone working in an old house, with a real budget, and with family obligations happening alongside. We are still going on our whole-house renovation and it’s good to see that our pace is not as “glacial” as it seems… it’s just what it is given our old house surprises, budget, and life with children and jobs.
So, I would love to now more about how you have stripped the wainscoting! Also what product/technique are you using for the finish? I tend to paint over anything that’s already been painted but maybe I should try something new!
Thanks for sharing your process… so excited for your beautiful new bathroom!
Stacy
Obligations? We’ve got ’em. 😀 It’s such a tricky balance, isn’t it?
Thank you for asking for more information on restoring wainscoting. I’m working on that post at your request.
Ame Hughes
I can’t get over how great that wainscoting looks. The wood is so lovely. Looking forward to seeing the sink reinstalled, too (it’s gorgeous even without being pristine).
Stacy
Thank you, Ame!