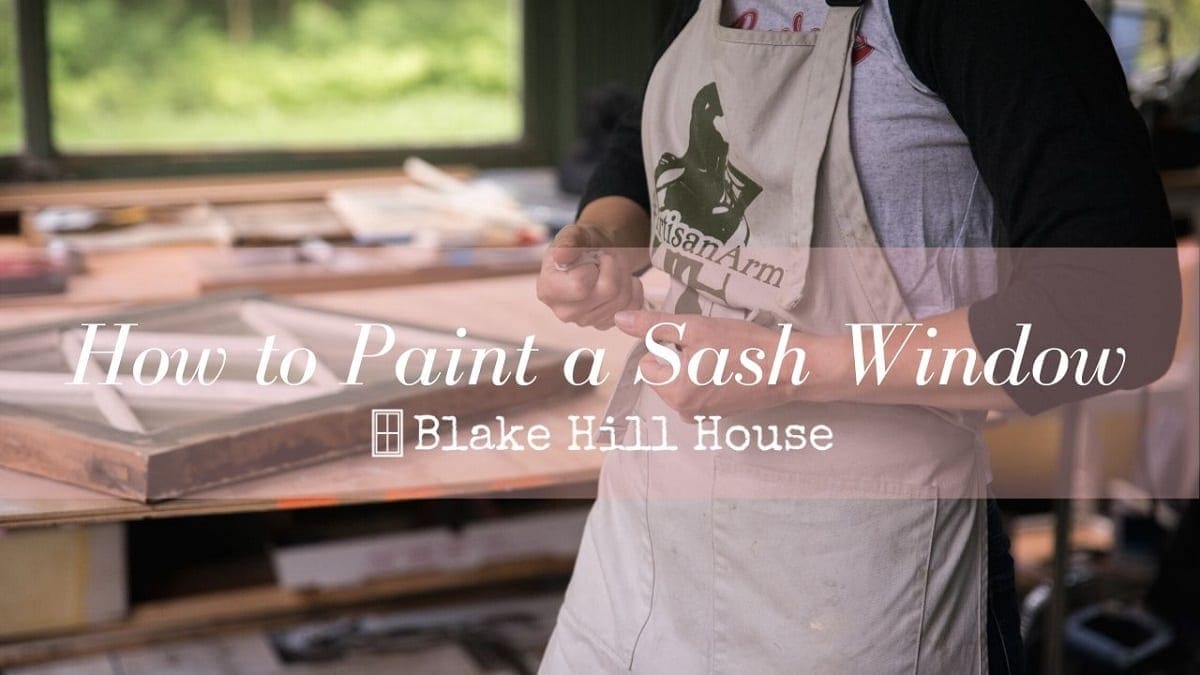
Lately, I have been enjoying vlogging. For all of the window restoration tutorials, it feels like a video is the best way to describe how to complete the work. I know that watching DIY videos isn’t everyone’s cup of tea, so I’ll include the basic steps below as well. Painting a window sash isn’t complicated, but to achieve the best outcome, there are a few helpful things to know.
You may watch the video below or directly on YouTube.
This post contains affiliate links.
Andy has been teasing me about just how real my workshop is. Maybe it’s a little too real? I admit that seeing it in the background of the videos makes me want to declutter and tidy. The supplies and tools are getting a little out of hand. Also, pay no attention to those asbestos-covered ducts.

Sash Painting Steps
Before painting a window sash, it should be primed, and the fresh glazing putty should be cured (skinned over) for the proper amount of time.
Clean the Glass
- Before you paint, give the glass a quick clean to remove any stray blobs (very technical term!) of dried putty. I like to use a retractable utility knife/box cutter and an inexpensive scraper with a handle.

- Wipe the bits away with a dry cloth.

At this stage of the sash restoration, the putty has cured, but it is still vulnerable to gouges with the blades or compression marks from your fingers. Work gently.
Paint the Glazing Putty
- Begin painting the window sash right on the glazing putty. (You do not need to prime the putty.) Your paint should slightly overlap the putty and spread right onto the glass. Overlapping onto the glass seals out any moisture, so it does not seep behind the putty.
Please note that the sash below has been heavily used for teaching purposes, and it’s …rough.

After some practice, glazing putty will look tidier like the photo below.

That said, don’t be too hard on yourself if your work doesn’t look as perfect as you would like. Chances are, no one else will even notice. The window I used for this post and the video will be tucked out of the way in BHH, and it is not at eye level. Also, the storm window will obscure most of the flaws.
Doing high-quality work is important, but so is learning. If you are just starting out, begin with a low stakes window from an out-of-the-way location if you can.
Remove Stray Paint
- If your paint line on the glass goes overboard like mine did below, it’s easy to remove the extra with the scrapers. When the paint is dry, cut the line with the retractable blade and a straightedge (optional), and use the handled scraper to remove the excess.

Avoid
- Do not paint the sides of the sash or any other points of friction. If you aren’t paying attention, and you accidentally paint there (I’ve done it!), just sand the area with 120-grit when it’s dry. There’s no need to spend time removing the paint. Glossiness is what causes a sticky sash at the friction points. The sandpaper will knock down the sheen.
Repeat the Steps
- I use two coats of paint on each side of the sash, sanding lightly between coats. Touch up as needed.
Allow the Paint to Cure
- Different paint formulas require different cure times. Although most paint is dry to the touch within hours, the full cure can take up to as long as two weeks–especially if the humidity is high or the temps are cool.

Let me know if any of these instructions are unclear or if you have any comments about the video. I am looking forward to popping this window back in its proper place. This one has suffered through the longest window restoration ever, and I am tired of looking at it.
I am ready to work on one of these fancies instead.

Painting on of those window sashes is way more fun.
If you are looking for more window restoration posts and videos, you’ll find them here.


7 Comments
Keri Collinsworth
Our house was built around 1900- we live in Missouri. Our windows are original- most weights are still attached even. I have gotten the upstairs windows to open, however they really need repainted, some weights reattached etc. What primer and paint do you like to use for windows? I don’t want to go to all this work with less than quality paint!
Stacy
Hi Keri, I went to Jr. High and High School in MO. 🙂 There is no one right answer to your question, but I can offer some guidance. I am not sure if you are stripping back to bare wood and repainting or just adding a layer of paint. My advice wouldn’t change much, but the two scenarios are quite different. Here is a list of my favorite paint and primers:
1. Primer – I recommend low-odor oil-based primer by Kilz or Cover Stain oil-base by Zinsser. Your old windows likely have oil paint on them, and latex won’t adhere properly without an oil primer bonding layer. It’s not available in every state, but I think it’s fine in MO. Once you prime, sand it very lightly so the surface will be smooth. Then, you can use modern alkyd on top.
2. Paint – I love the Advance line by Benjamin Moore or
3. Emerald Urethane Trim Enamel by Sherwin-Williams.
The primer is the key, though. If you are stripping back to bare wood, your paint options change. If you are, let me know, and I will expand on this answer. Good luck!
Natasha F
I am stripping my sashes down to bare wood. How exactly do the painting options change?
Stacy
Hi Natasha, Thanks for your question. This video shows painting after the priming step. It was stripped back to bare wood before glazing and priming. As for painting options, when you start with bare wood, you can explore linseed paint and other traditional finishes. I highly recommend EarthandFlax.com to learn more.
PS: I removed the note about using painters tape or masking liquid from the article. I no longer recommend either.
Stacy
Hi Natasha,
I am so sorry I never answered this! I just saw your second questions today. I got a new website, which hasn’t functioned quite as I had hoped. Since you are stripping the sash back to bare wood, take a look at a stain and tung oil combo or Linseed paint! Both are excellent options. My favorite tung oil products come from SutherlandWelles.com. EarthandFlax.com has a nice variety of linseed paints.
Colleen Brown
We just purchased a 1906 Colonial in NJ. I’ve (just) started my window restoration project and removed my first set. The work is exhilarating, but also daunting as each step-particularly curing times for glaze and paint are days and weeks. What is your favorite way to protect your home from the elements during these times? Is there a right or wrong way or perhaps tips to think about when hanging your plastic sheeting? Thank you! I’m trying to work quickly, but also don’t want to shortcut any steps given how much work I’m putting in! – Colleen
Stacy
Congratulations on your new, old house! 🙂 Thank you for saving old windows.
My favorite way to button up the house after removing a window is simply using the storm window, but the plastic sheeting you mention is an excellent idea if you don’t have storm windows. One way to securely apply the sheeting is to place wooden slats over the top, bottom, and sides to fashion a make-shift frame. That helps the plastic hold up longer, and it’s less likely that water will pool in the pockets of folded or wrinkled plastic.
I’d shoot in a few finish nails/brads to keep the sheeting and wood in place. You’ll want to fill the holes with wood filler after reinstalling the restored windows.
Plywood screwed to the interior frame + plastic sheeting on the exterior is the best idea for vulnerable situations, but that does create more damage to repair in the end. Plywood is best for high crime areas, second-story windows, and homes with kids/pets who could fall or climb out of an opening.
Please let me know if you have additional questions. Good luck!