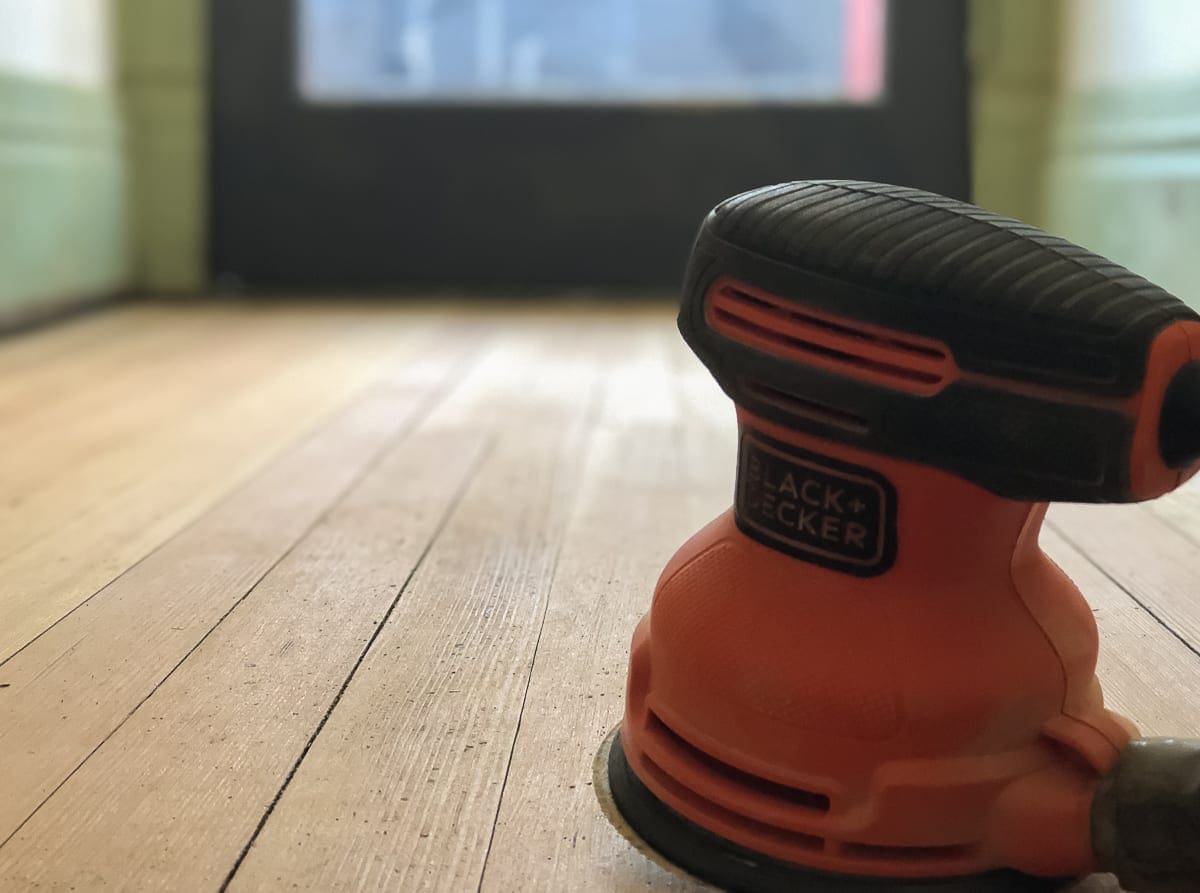
As is often the way with big DIY projects, phase I of the floor refinishing project is taking longer than expected. This week, I focused on removing swirl marks and other sanding imperfections. During

Read part I of this DIY hardwood floor refinishing series here.
After the initial sanding with the big, rented equipment, We felt good about how the floors looked overall. If I were a teacher giving a grade, I’d have given us a B+/A-. However, after looking closer, there were a few more swirl marks than I expected. To quote my friend Marti, who quoted the character Cher from Clueless, it was “a full-on Monet.”
Clueless Directed by Amy Heckerling, Paramount Pictures, July 19, 1995
She’s a full-on Monet. […] It’s like a painting, see. From far away it’s okay, but up close it’s a big ol’ mess.
This post contains affiliate links.
Looking back at the initial sanding, I cannot see where we could have done things much differently. We followed proper procedures and did a decent job. Finish sanding is a necessity during the preparation phase, and removing swirl marks is part of the process.
My first attempt at removing the swirl marks was time-consuming. I used a combination of hard scrubbing with 40-grit paper followed by 40-grit on the orbital sander. My method worked, but after one hour, I had only finished a small strip in the dining room, and I had practically rubbed the fingerprint off my left ring finger. Trying to think of a way to speed things up, I decided that renting the orbital edger and going over the whole thing again was the answer. I posted my plans on Instagram, and professional Freddy Roman, who goes by the name periodcraftsman, told me the real solution which is raising the grain. There are moments when I remember that I am not the expert of everything DIY, and this was one of them. There is plenty to learn.

Raising the Grain
Raising the grain is also called water popping. Sanding removes the bumps and marks, but the smoother the surface, the more tightly closed the wood fibers are. Water popping sounds complicated, but it is merely dampening bare sanded wood with a wet rag or mist bottle to make the fibers stand back up again. Before applying stain, woodworkers and floor professionals often raise the grain so the color will absorb evenly.
While we are not staining the floor in BHH, raising the grain is also useful for removing swirl marks and other imperfections.
Note: Rubio Monocoat, the floor finish we are using, has a specific recommendation for water popping. It cannot be the last step before applying the oil. A complete post about using Rubio Monocoat is forthcoming.
The Procedure
- Wipe the bare wood with a damp rag. Alternately, you may use a spray mop or mist bottle with plain water only. We have a mop similar to this one. Take care to avoid puddling. The wood should be evenly moistened but not soaking wet. (Sorry about using that “m” word! I know it is hotly hated, but it fits here. Ha!)

The floor should begin to dry quickly.

- When the wood is thoroughly dry, sand the entire floor with an orbital palm sander and 40 or 60-grit sandpaper (I used 40). Pay particular attention to swirl marks and imperfections. You may still need to give those marks an extra scrub with a piece of sandpaper followed by the orbital, but removing them will be much quicker and easier after raising the grain.

- After removing the swirl marks and imperfections,
sand the entire floor again with 60-80-grit, followed by 80-100-120-grit. Rubio Monocoat recommends finishing the hardwood with 120-grit, so that is what I did. The important part is to never skip a grit or a section of the floor during finish sanding.
After this step, the floor should be smooth, free of swirl marks, and ready for the floor coating of your choice.
Why Removing Swirl Marks is Important
Small imperfections, dips, and swirl marks are not very noticeable on raw, sanded wood unless you get very close.

However, floor coatings make all of the imperfections pop immediately. They become glaring mistakes.

A little extra care with finish sanding can make the difference between professional-looking results or “I can spot that DIY project from a mile away.”
The next post in this series will be about our experience using Rubio Monocoat as the floor finish. I have been talking about it a lot over on Instagram and sharing some sneak peek photos too.
If you are planning a floor refinishing post at your house, you may want to pin this post for later. Even though it is taking longer than we intended, we are excited about how the 130-year-old+ floors in BHH are shaping up.
Do you have tips and tricks to add to this post? Questions? If so, please leave a comment.
-Stacy
5 Comments
Vanessa
That is just way too much work Stacy, way. But good for you two!
Stacy
We are excited to see the end of this project, and we know it will be worth it. 🙂
Ashley Dent
Very good article to know about the ways to remove swirl marks on finished hardwood floors. I have recently installed hardwood flooring in my bedroom and kitchen over the concrete floor. But later I found some swirl marks are present on the floors. I have very much worried and from this blog I came to know about the effective solutions on this issue. I have decided to apply those and hope it will be good for me.
D Soz
Hi there. This is literally the only source I can find on the internet with someone suggesting water popping AND THEN sanding again. Every other website says to water pop only as the last step before staining, which is true, for greater and more consistent absorption. However, at least in my mind, the idea of water popping also, before a final sanding makes total sense to help eliminate swirl marks. It would seem to me that if you raise the grain a little, then sand again, that you will be in essence leveling out some of the “high” spots in between the swirls which are in effect indented scratch marks. I understand, as the Rubio website states, that more sanding will close the grain again, but it seems worth it to me to water pop, sand the raised grain, and then water pop again for the staining. Can you confirm, please that you are in fact recommending water popping BEFORE a final sanding? And did you get any negative feedback for choosing to do that from professionals?
Thanks
David
Stacy
Hi David,
Thanks for your comment. I can confirm that I water popped followed by the final sanding, ending with 120-grit. We’re wrapping up year three with our floors finished in Rubio, and we’re still thrilled. Here is a post that I wrote after one year: Our Rubio Monocoat Floors, One Year Later
Since I did not stain our floors, I saw no issue with water popping as a way to raise the swirl marks to sand them off, and it worked! Rubio recommends a final sanding no finer than 120-grit, and some floor professionals stop at 80.
I did not get any negative feedback from the pros, but I also didn’t ask for any input either. Ha! I hired a pro to sand our stair treads before applying Loba, and he said the floors look great. He uses Rubio regularly, and he strays from “the rules” from time to time. I adore Rubio, but they seem to always blame any issues on user error, so keep that in mind.
Let me know if you have any more questions. I am happy to answer them based on our experience.
ETA: Just to be sure we’re comparing apples to apples, our floors are Douglas Fir. If yours are different, I suggest doing a test patch first.